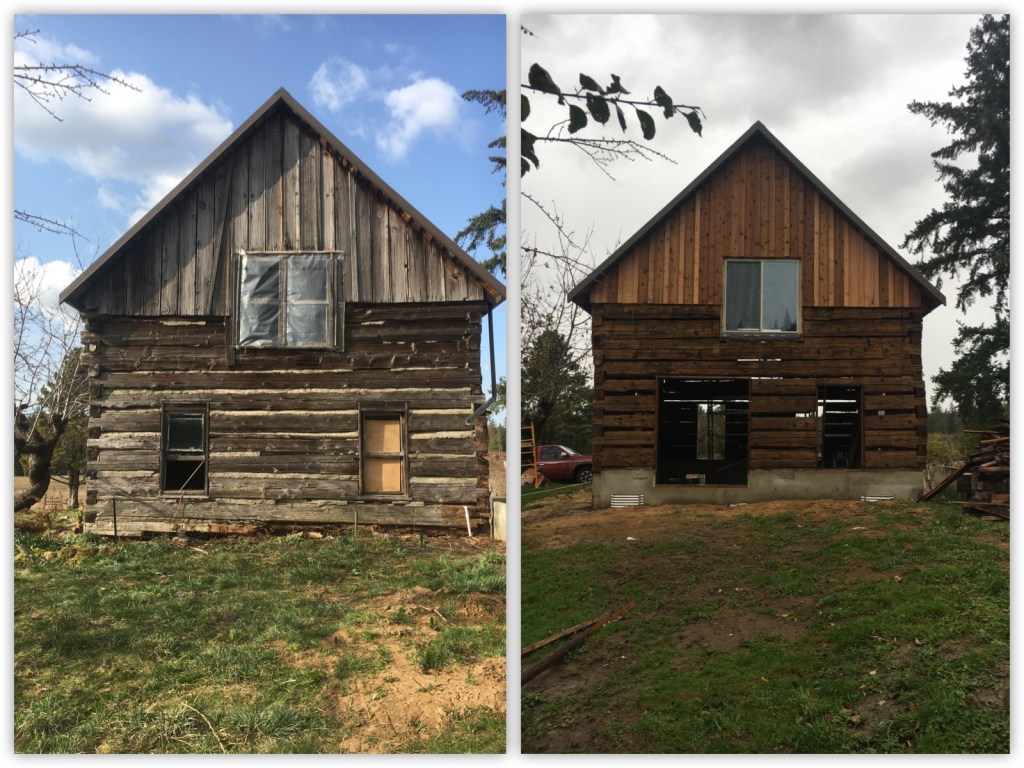
Now THIS is the type of instant gratification I’ve been missing lately! Okay, so maybe it wasn’t so instant. But the past few weekends of media blasting, staining, board and batten replacing, and window installing has been incredibly satisfying. We’ve still got some boards and batten to finish staining – we ran out of stain before we could get all of the exterior done – but this weekend it’s supposed to be nice! When staining outside, you need to have at least 48 hours before rain hits. Shortly, we’ll be ready to move on to the final few steps to get the Cabin sealed in.
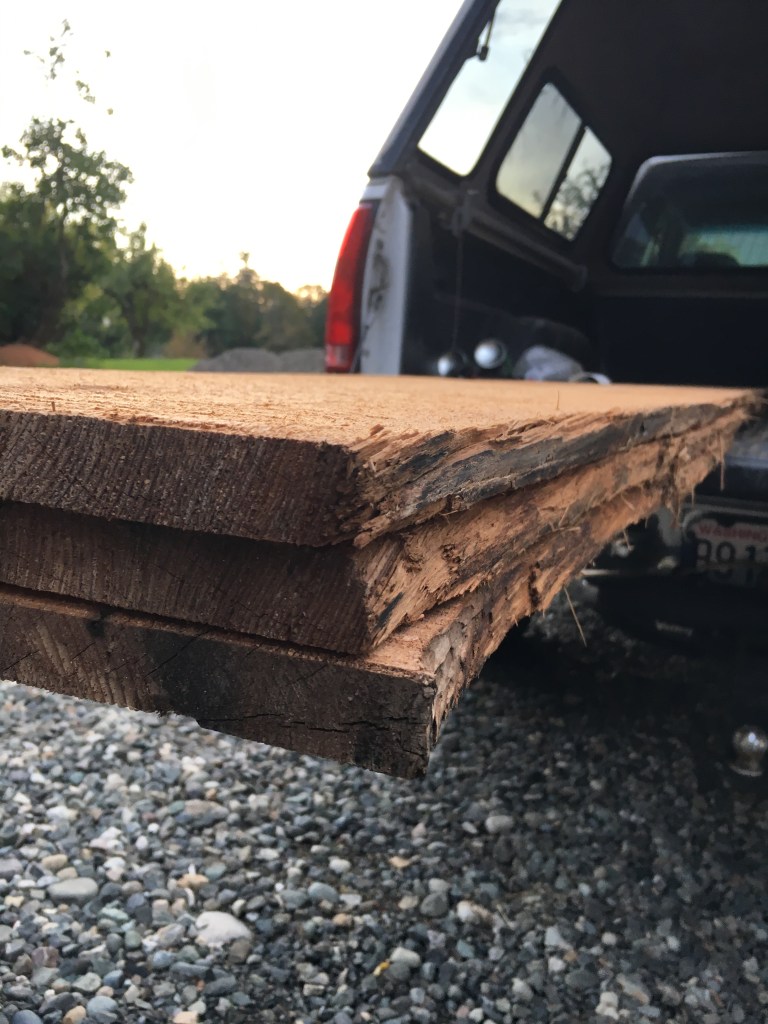

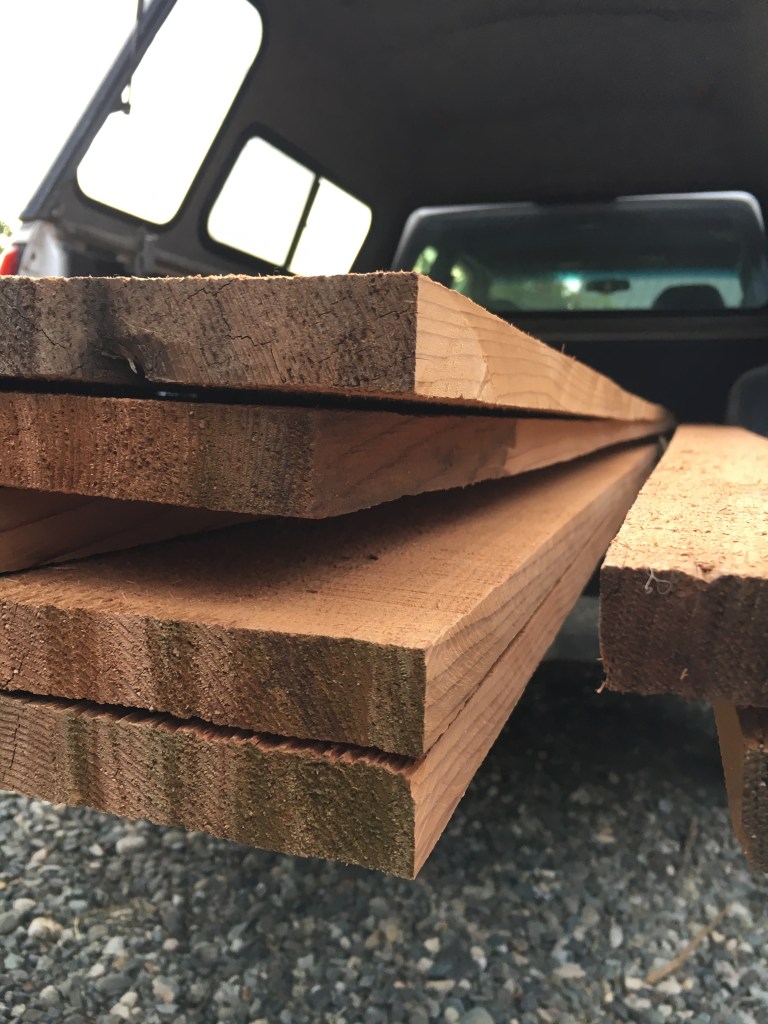
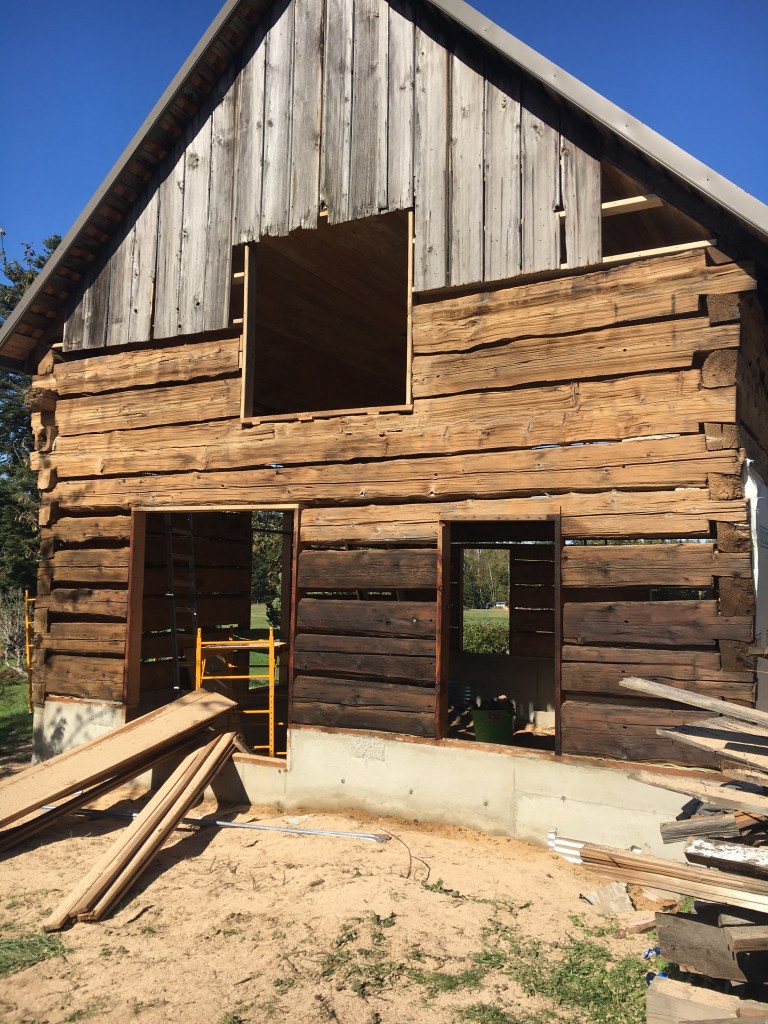
My FIL started the project off by chainsawing the logs we’d removed from the East wall that were in decent shape into 1″ x 12″ planks. We needed to replace all of the vertical board and batten on the upper South side, and all of the batten on the upper North side; so milling on those boards down took up a fair amount of time. He was kind enough to get started on them early and work on them through the week while we were working and schooling.
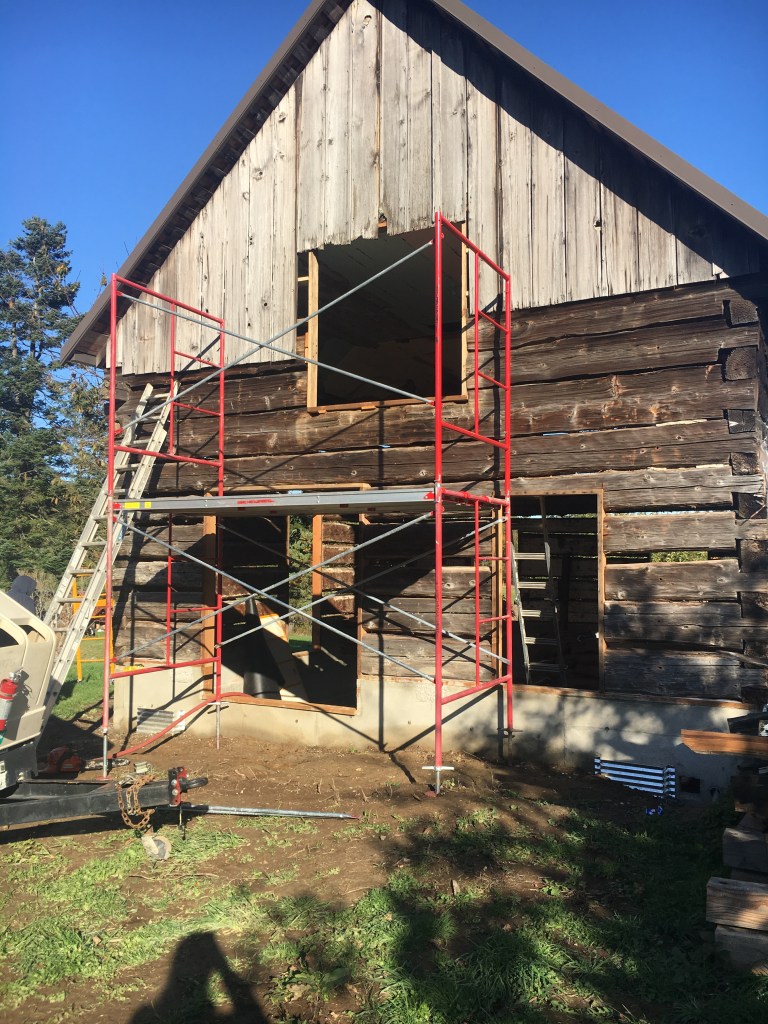
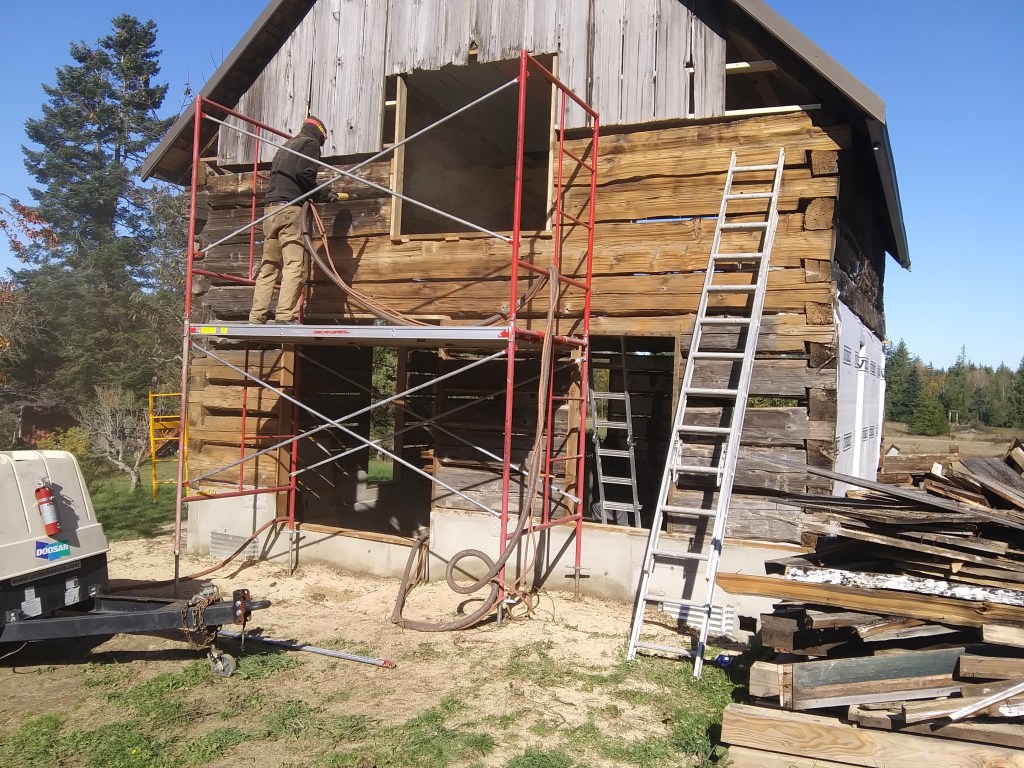
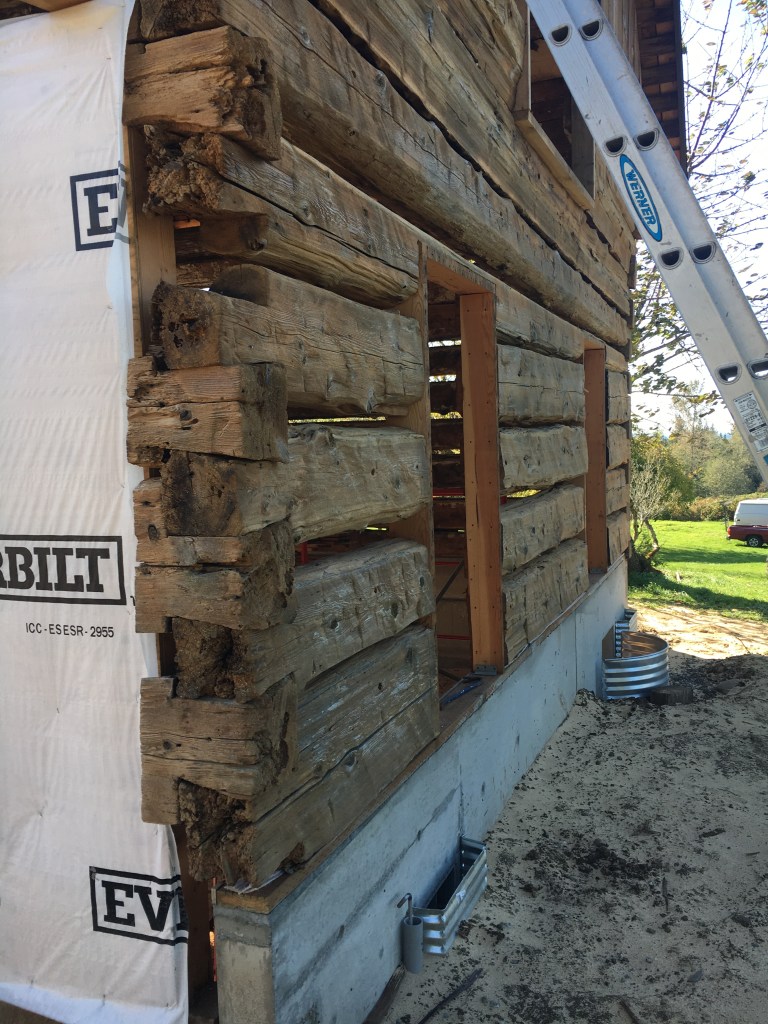
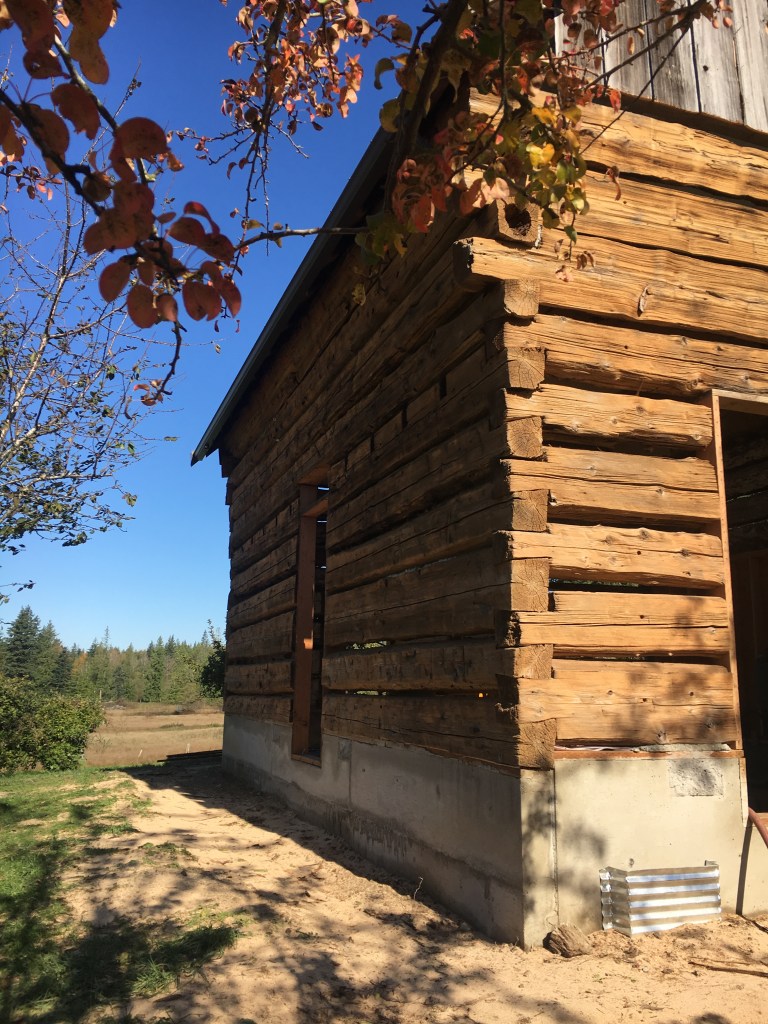
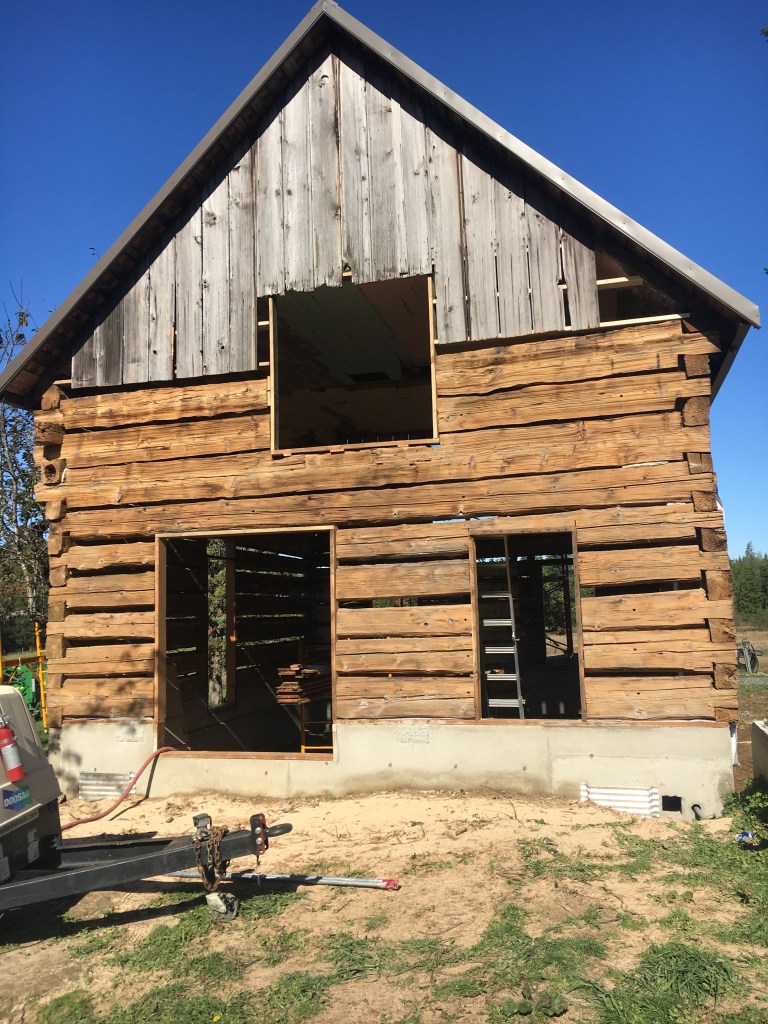
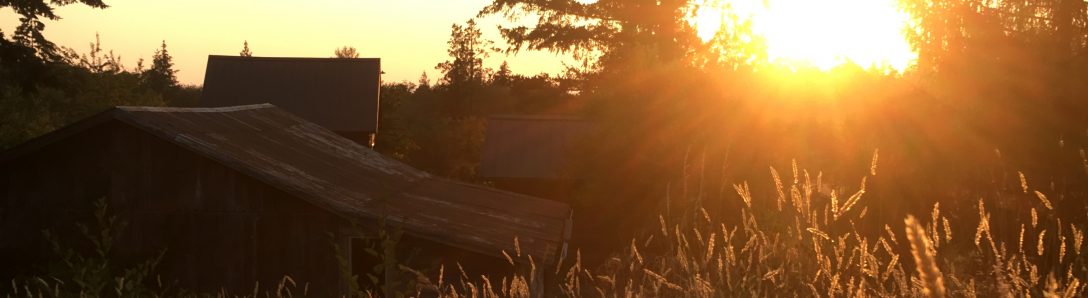
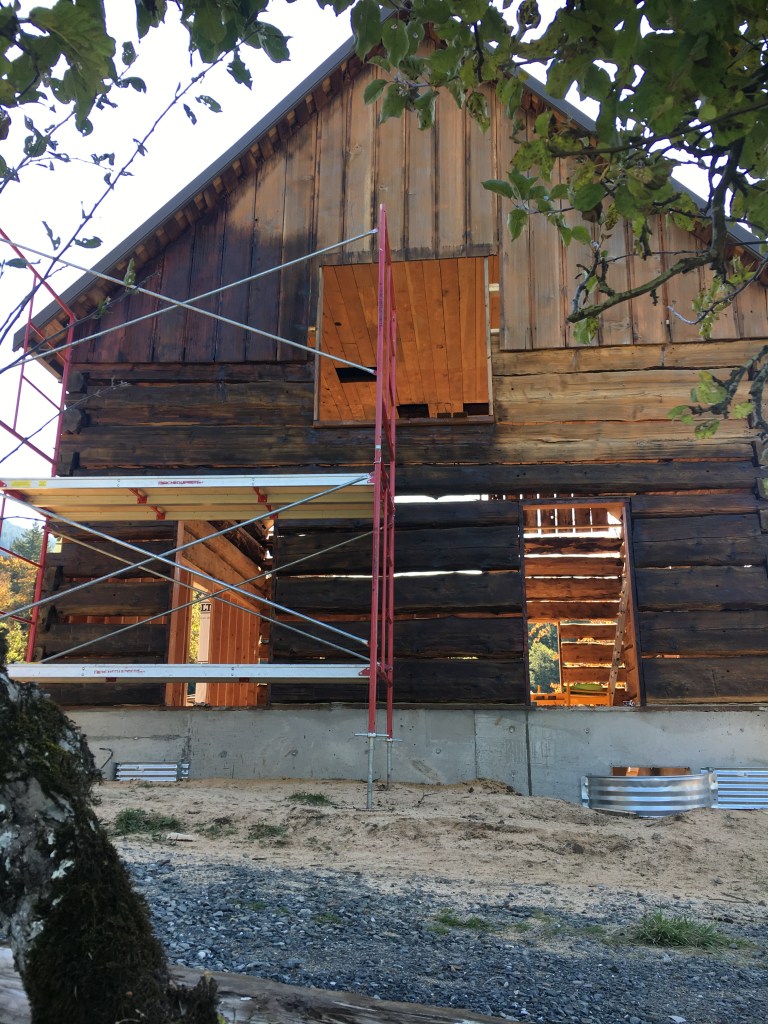
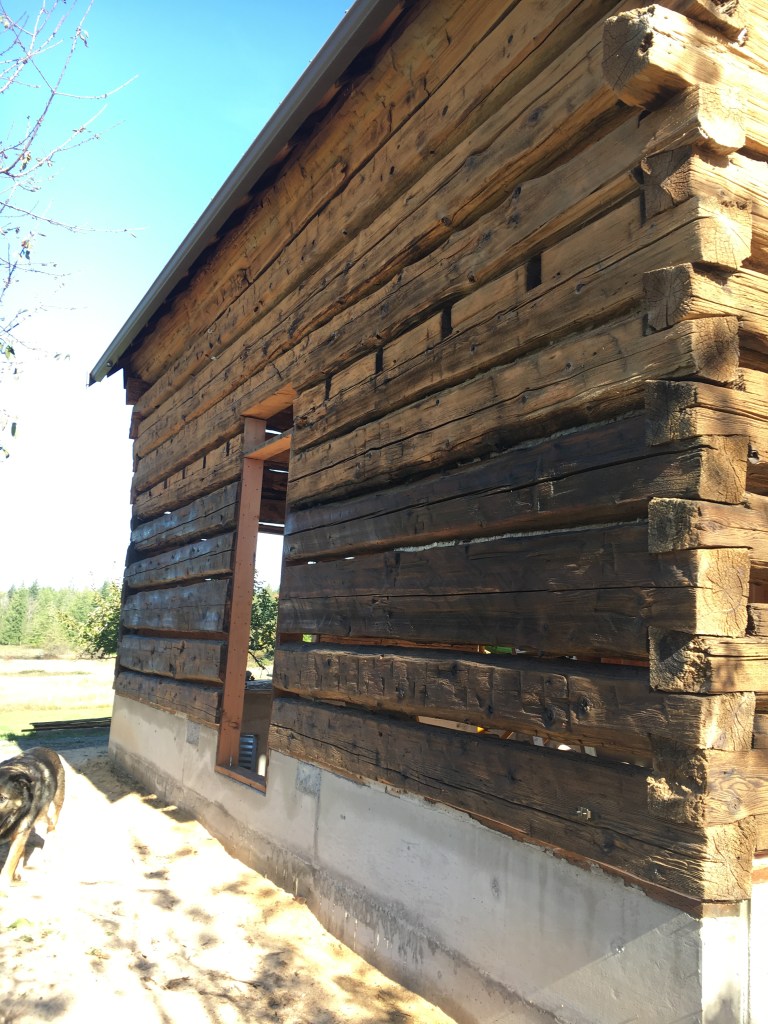
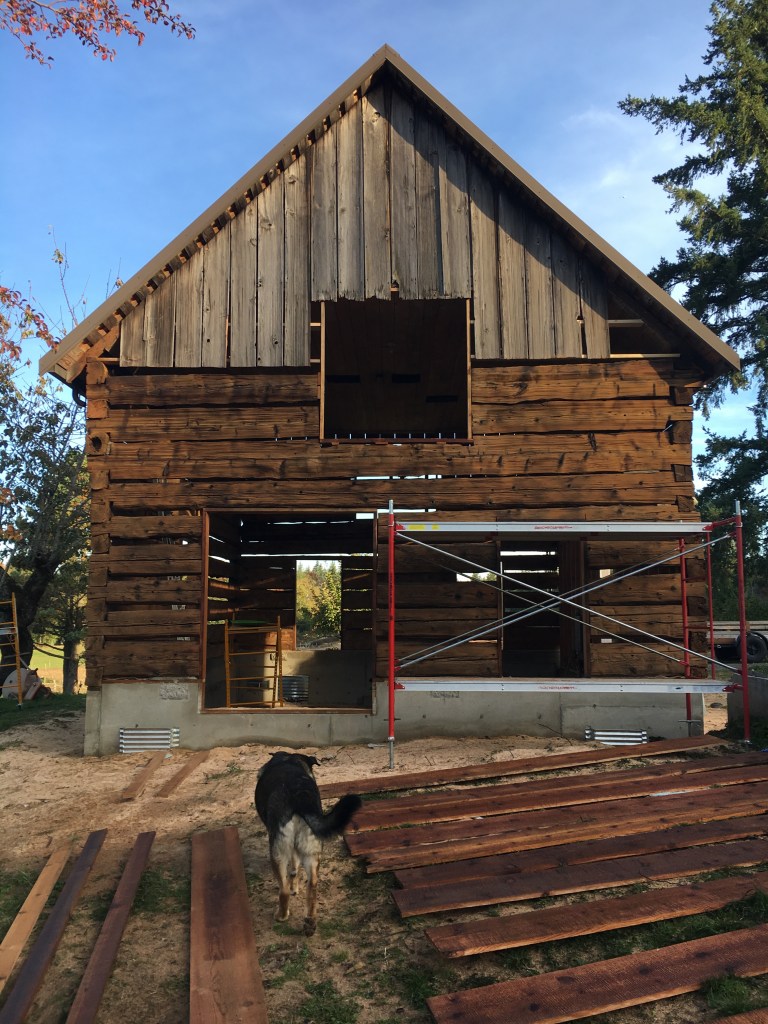
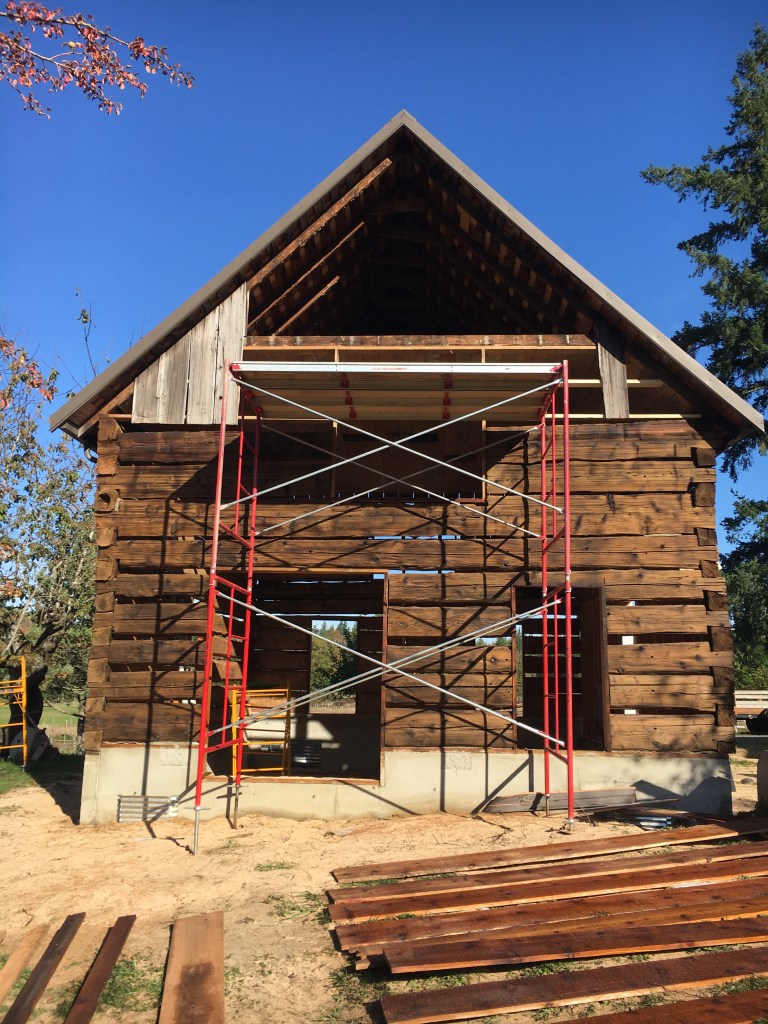
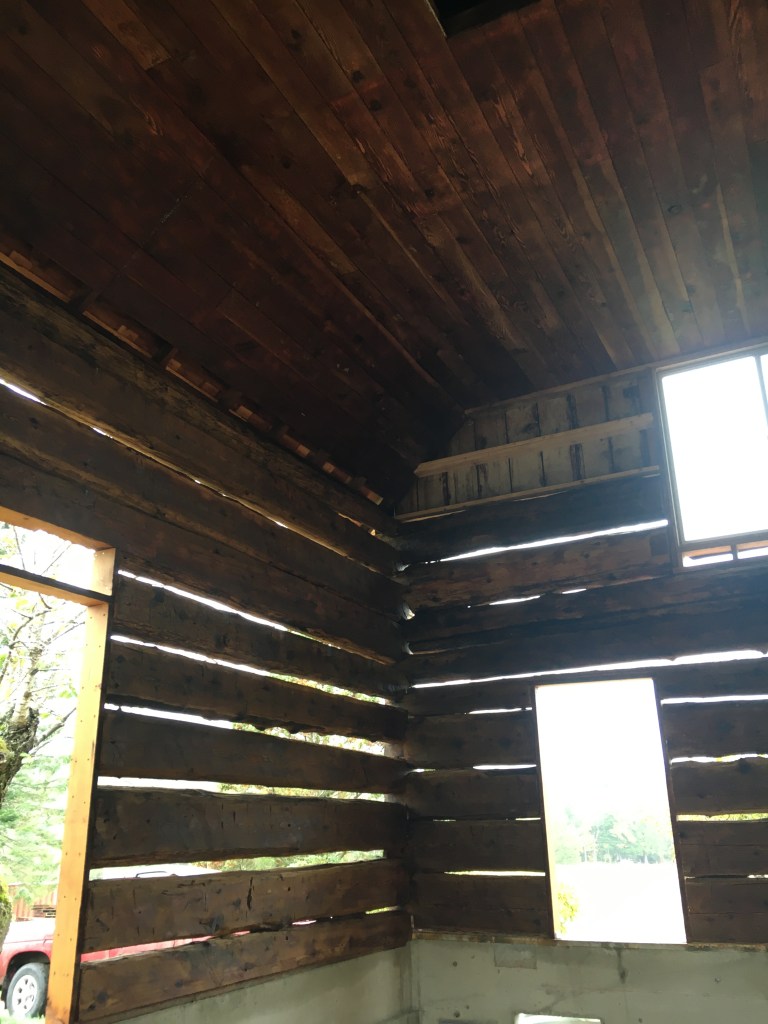
Next step was to media blast the exterior and interior. We had to rent scaffolding, an adequate air compressor and a sand blasting pot to do the job. Husband had to take a couple of days off work so we could get it all done while the weather was nice. We used ground corn cob as our media. It actually went quite a bit quicker than we thought and looked beautiful and fresh, almost new! Though she might not have any straight lines or square edges, the Cabin is beginning to look mighty fine once again. Even though we didn’t see her in her glory days, I’m sure she was a sight to behold.
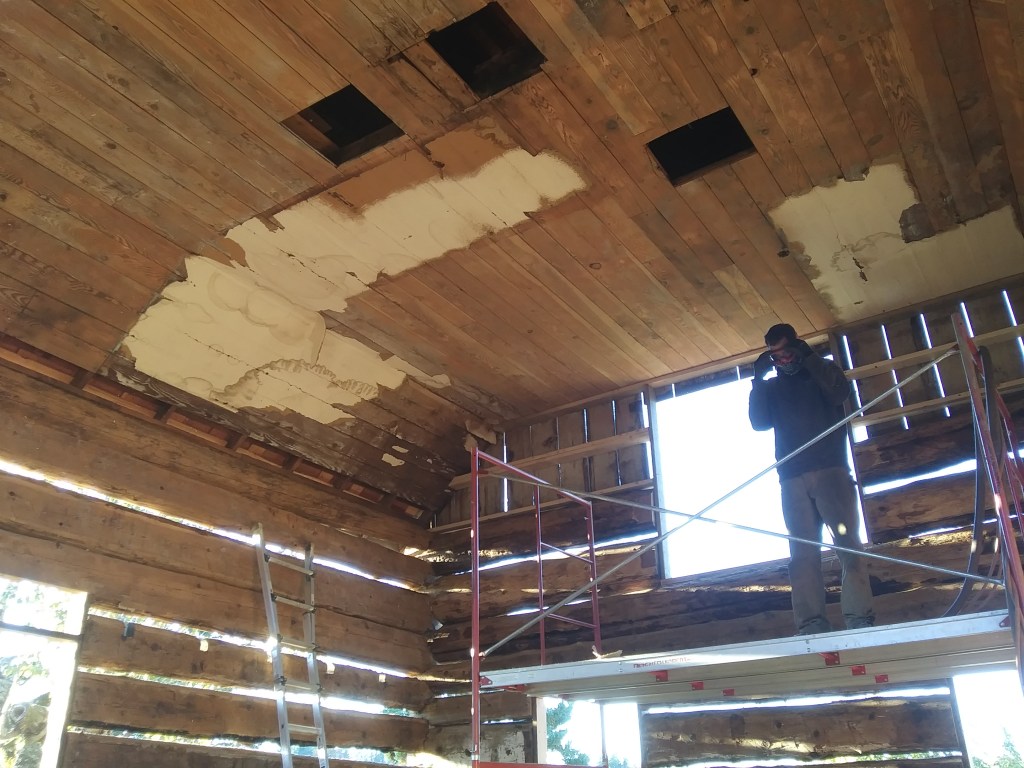
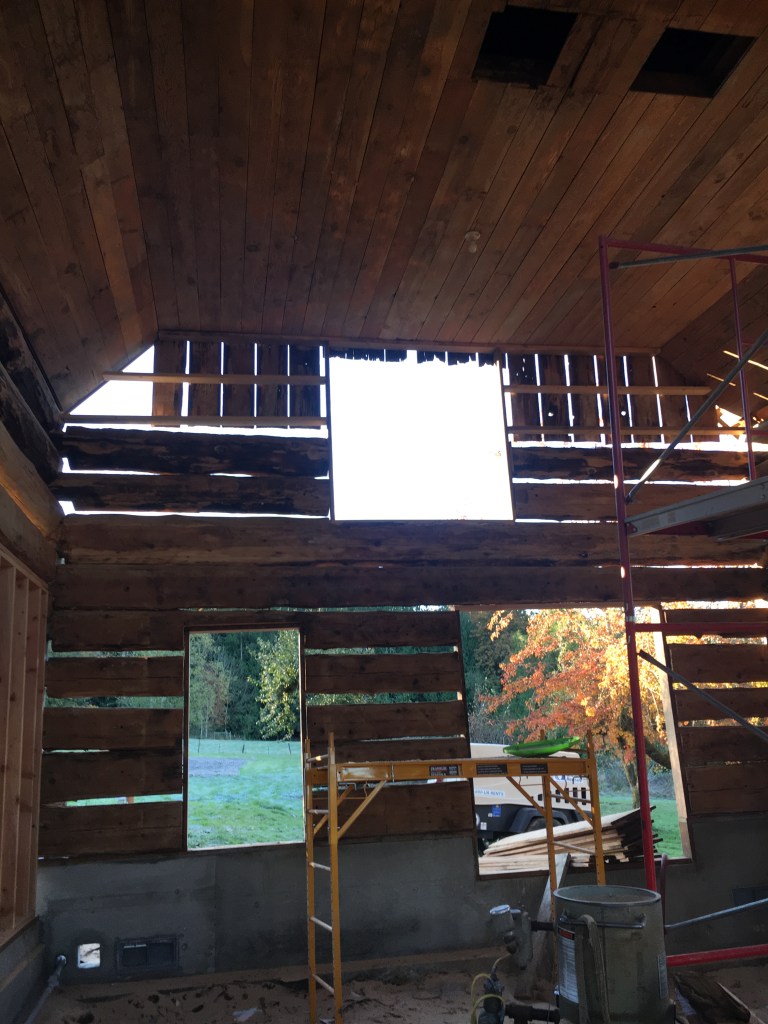
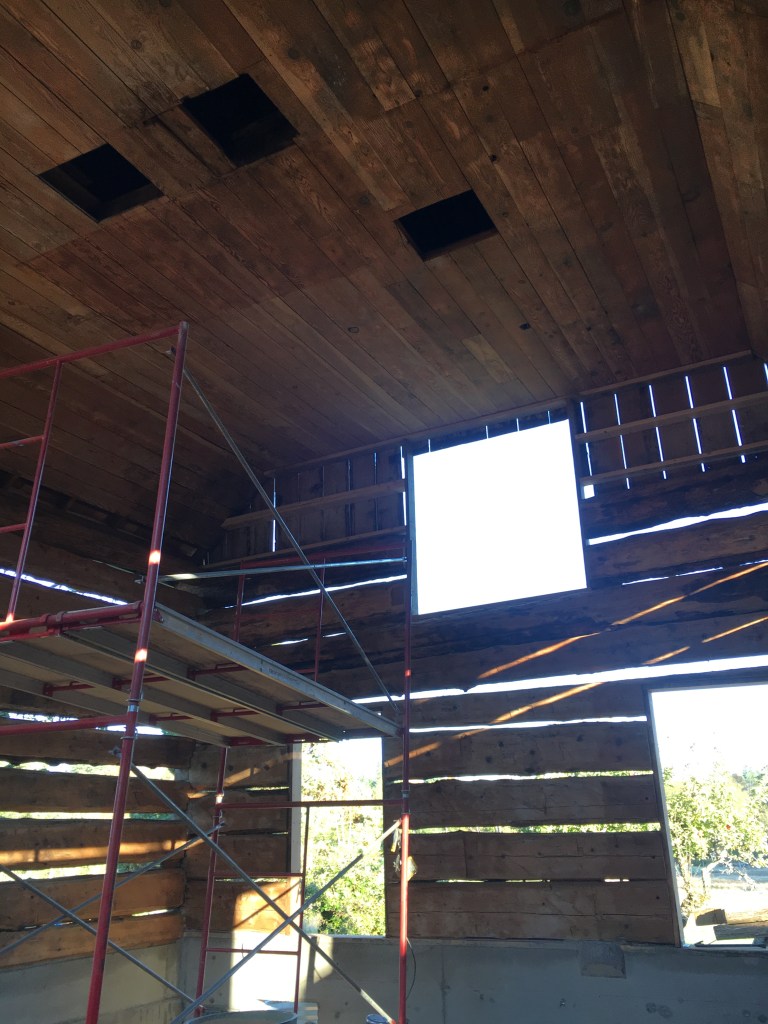
Just before the outside was all completed, I had to run off to clinic. Husband and FIL completed media blasting the interior all in the same day. It was amazing to go out the next morning and see all that ceiling paper gone to reveal more gorgeous wood. With no sunshine to be wasted, we started staining right away. Staining was near as quick as media blasting and gave that awesome instant gratification.
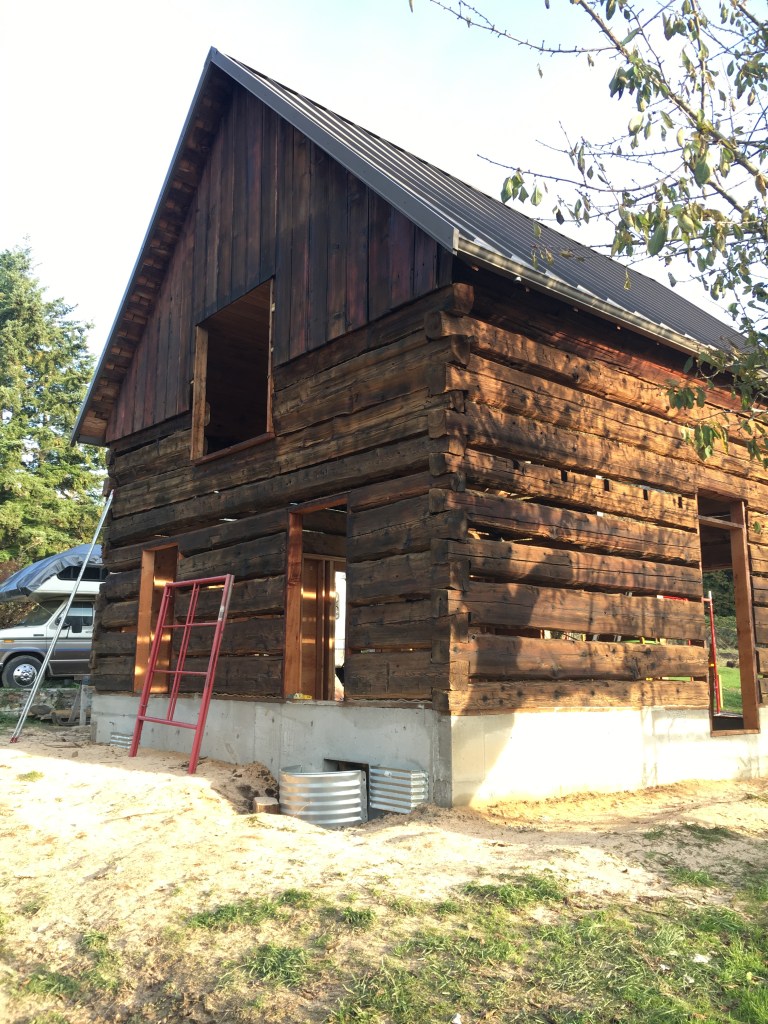
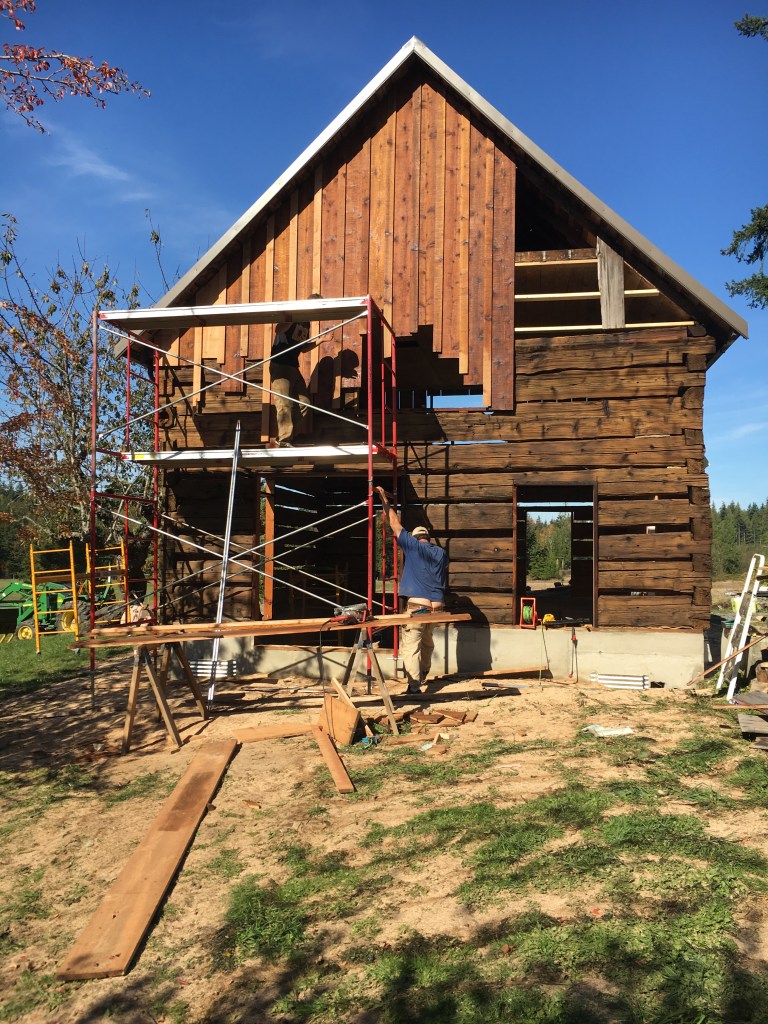
When we first got done it looked very dark, but it lightened with time. We’re about two weeks later now and it’s looking beautiful. We finished all the exterior staining (besides the upper South side board and batten that needed replacing of course). As we were getting very low on good weather and stain, I opted to stain as many boards and batten as I could that same evening so that it would have extra time to cure before the rain started back up. Unfortunately we ran out before I could get them all stained!
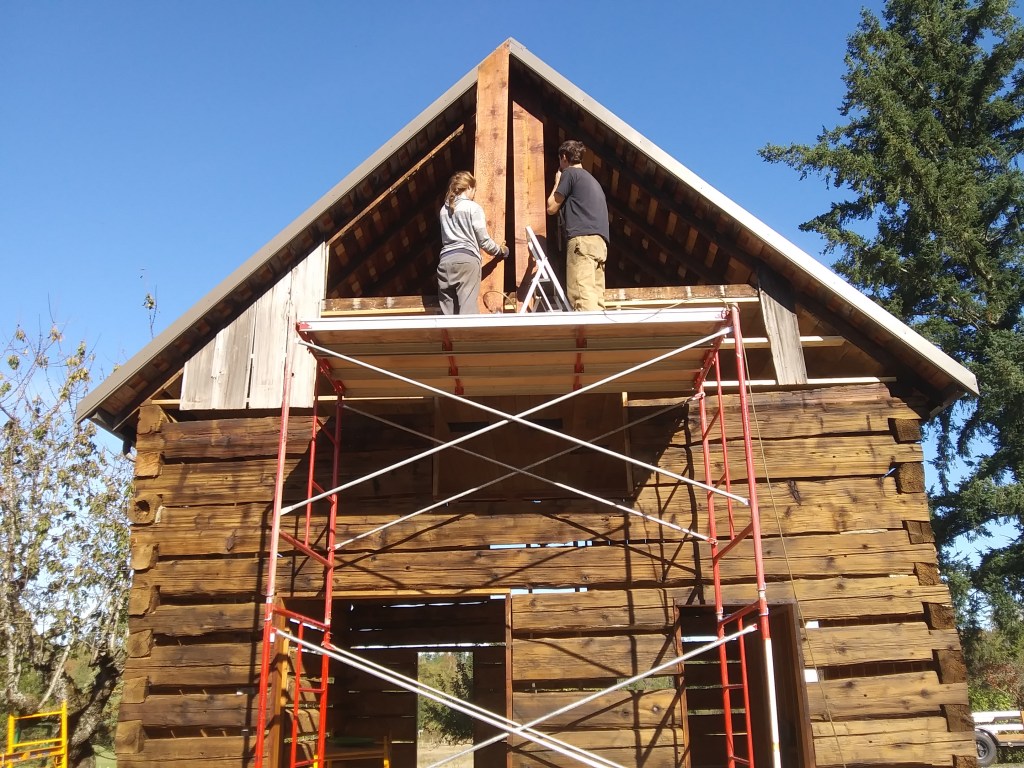
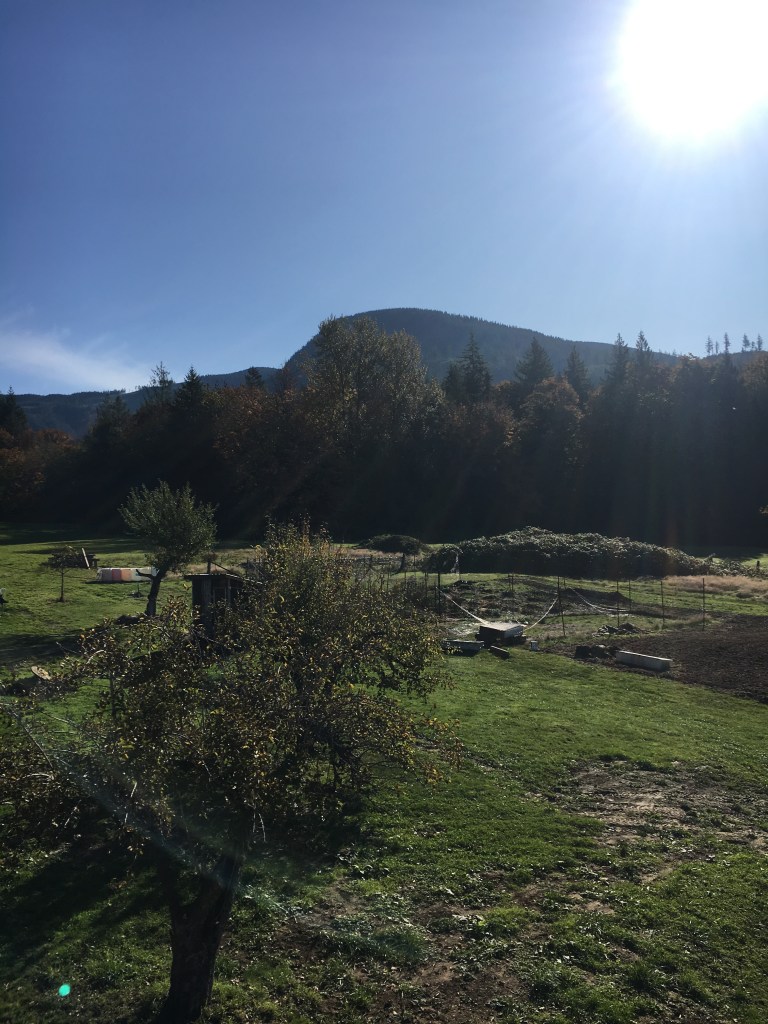
The next morning we started up on replacing the board and batten on the South side. Being at the top of the scaffolding is definitely not my favorite thing in the world. Husband would just walk around like normal while every step he took shook the whole thing. I’d be standing wide (and wobbly) legged with both arms out trying to hold onto whatever I could – Husband, the step latter (because we had to get higher), the Cabin. I was petrified the whole time! It was worth it though. The views were spectacular. They had me trying to figure out how we could add a little breakfast nook balcony off the kitchen vaulted ceiling window. I’m not sure how that’s going to work out yet haha.


The coolest thing about this is that all those boards and batten are from the Cabin. Even though they are a little lighter, the Cabin is still almost entirely made from its original logs. Besides the majority of the East wall. But just ignore that side. It’s only temporary. For years. Probably.

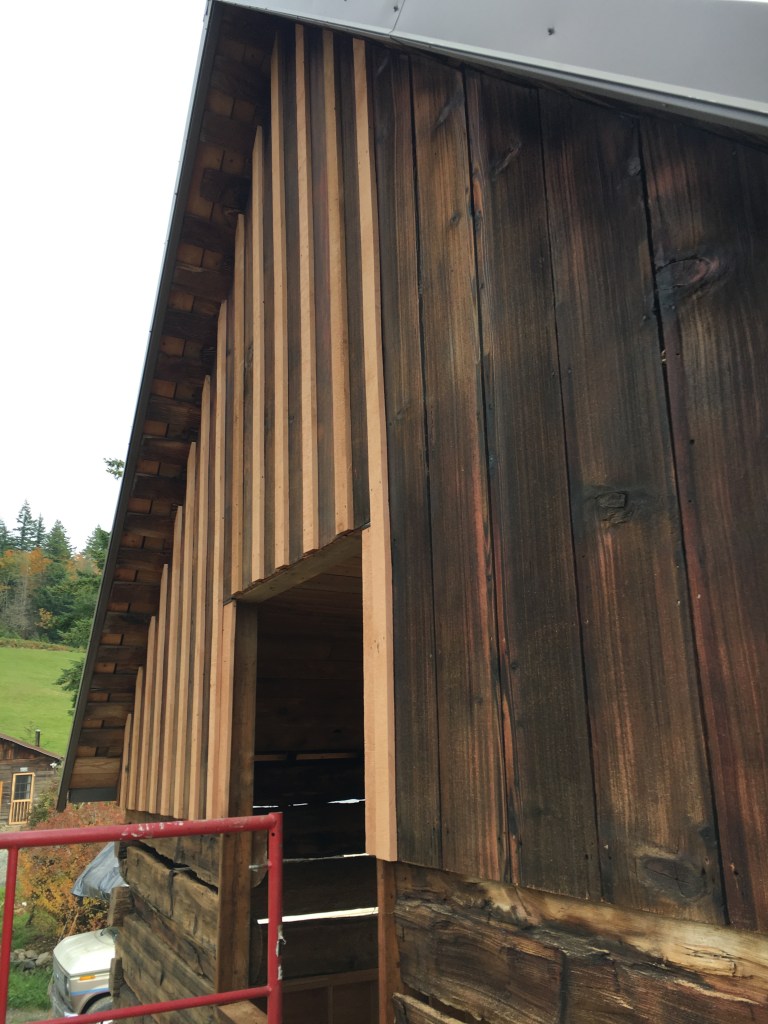
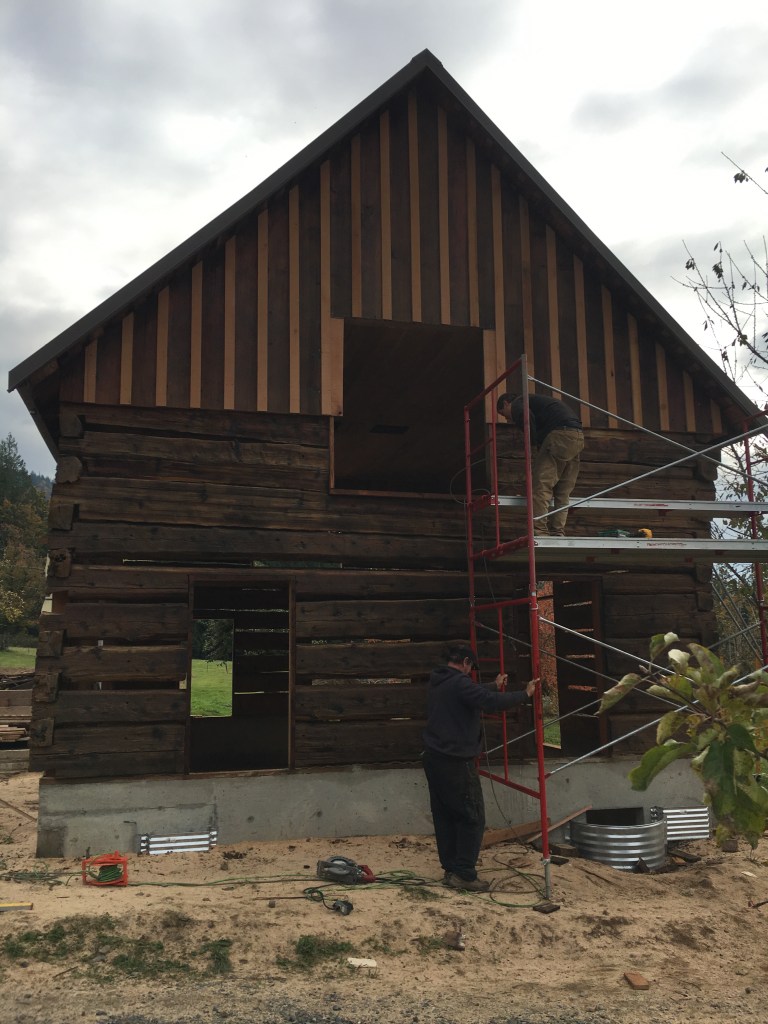
The North side had all bare batten. When we got done putting these up, it was the end of our long weekend, and the end of our good weather for a solid week. Fortunately, the next weekend we needed to start staining the interior, so we would be under cover throughout. Before we moved the scaffolding inside, we stained the peak of the North side batten as we were going to be returning the scaffolding that week. It was supposed to rain shortly, so we stapled up some plastic to keep the rain off for a couple days (though I didn’t get any pictures of that!). Then we began staining the interior and pulling nails as we went. There were a lot of nails. Everywhere.
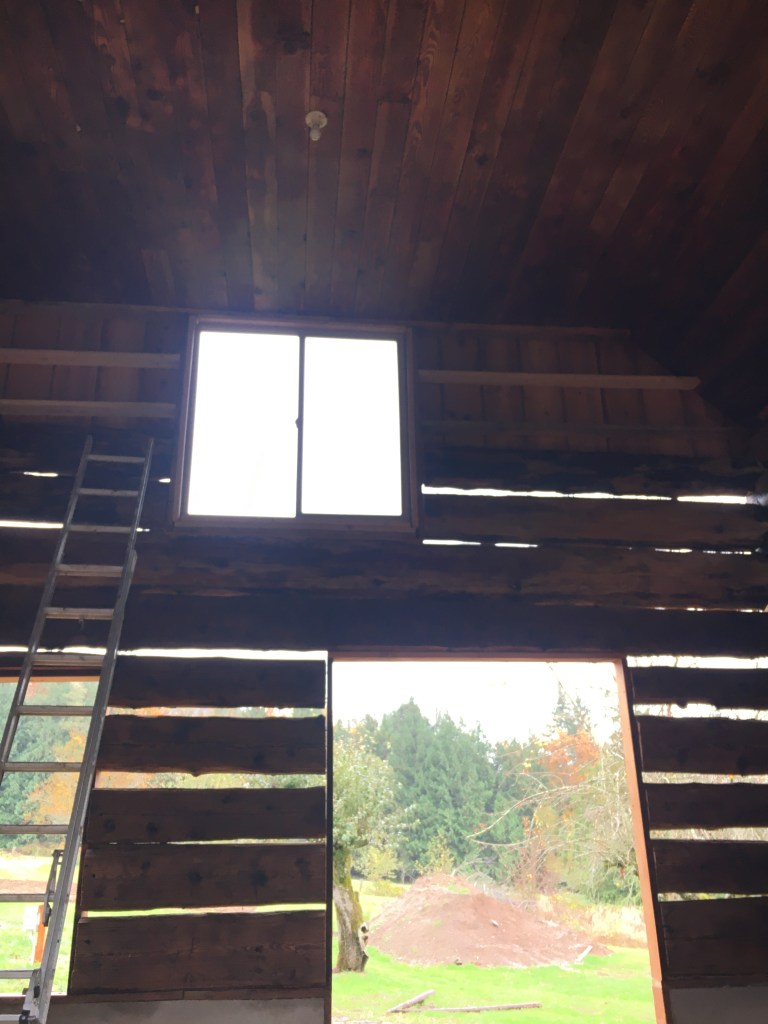

As we stained we also finished trimming the board and batten from the window rough openings and installed the windows. This was by far my favorite transformation as it felt like the first step towards making the Cabin habitable again. Shortly we will have the final board and batten stained, the lower level windows in, and then the doors. And then finally we will start the re-chinking process, sealing the Cabin!
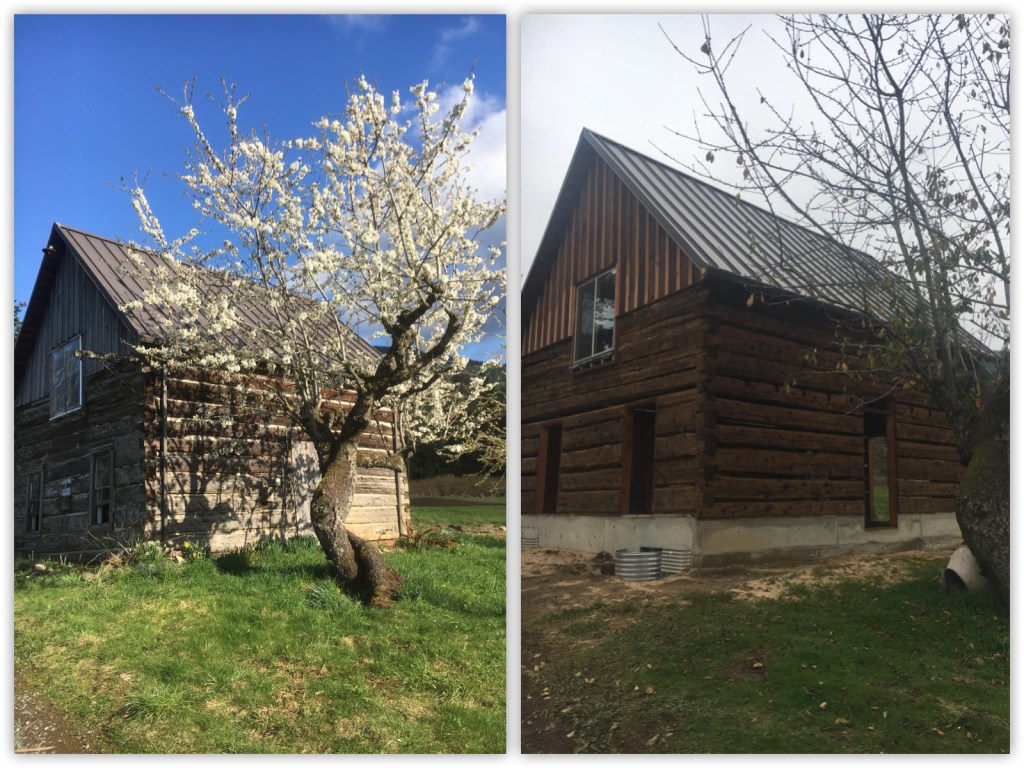
Next Spring I’ll have to get a picture as beautiful as the before picture. I think we’ve decided that once we get the Cabin sealed in for the Winter we’ll take a little break until after our trip to New Zealand this December. It’s been a long and draining process, and I think we need to take a little break and regroup so we can start enjoying the process again. However, getting it dried in for the winter will help when we want to start back up in January!

I’m so enjoying your journey your words are so descriptive almost like I’m there! What a wonderful piece of history (in the making) to pass on to your family!
LikeLiked by 1 person
WOW – It’s really coming together beautifully. I’m loving your sharing the process. It’s brings back so many memories of all the homes your Grandpa and I built/restored. It’s a joy.
LikeLiked by 1 person