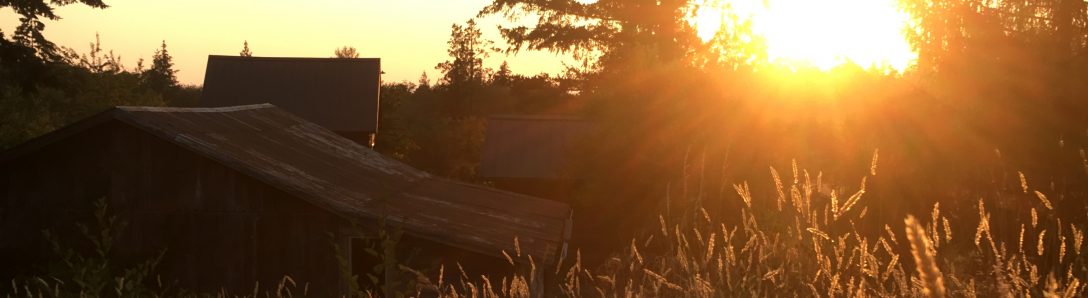
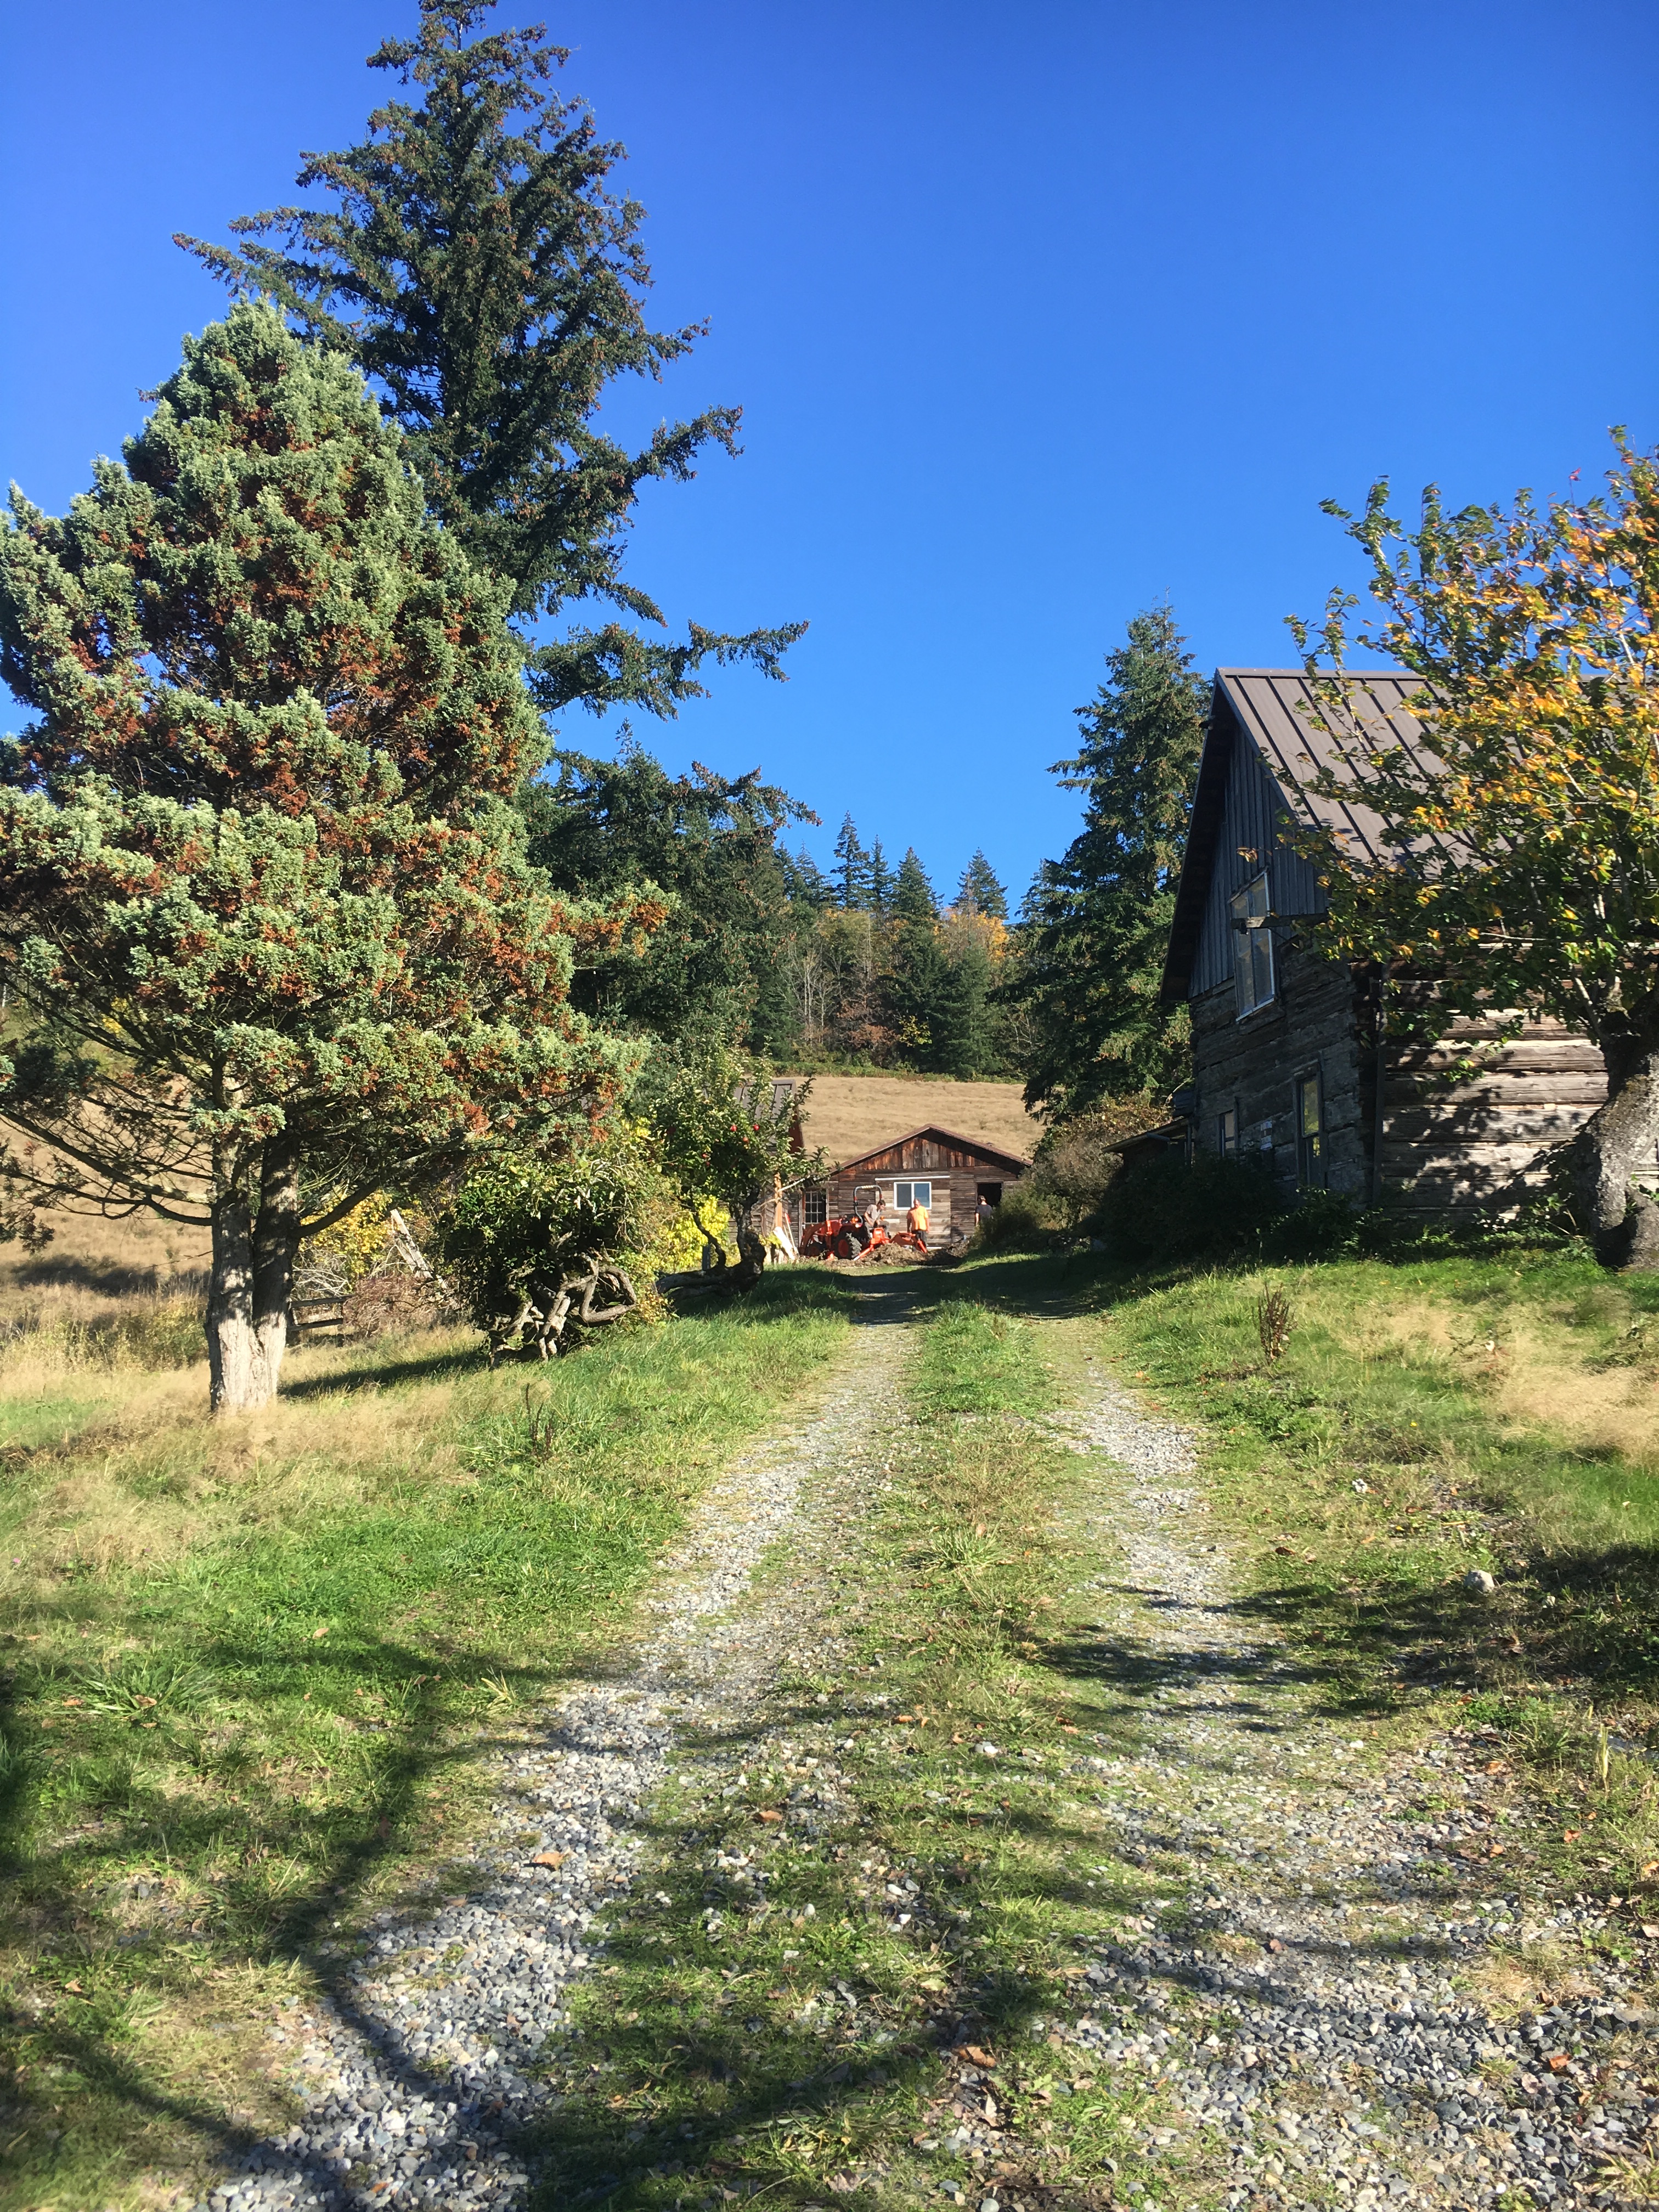
We are spread incredibly thin at the moment, and we don’t even have any kids yet! I keep trying to convince my husband that getting pregnant while in school and restoring the Cabin is a fantastic idea and will help get the second one on the way before I hit the big 3-0…but he’s not buying it. I guess one of us has to be realistic about our time juggling abilities! Regardless, we only have weekends to get any real work and progress done on the Cabin – and there is a TON on the to do list. My current goal is to be moved in before Summer (just get me out of the RV!! I don’t care if I step on nails, have to cook elsewhere, and start a fire – or in reality wait for Husband to start a fire – every morning!!) and to have the kitchen and living space done before Christmas 2019. It would be INCREDIBLE to host the limited family we have near us on Christmas Eve this year as they so graciously hosted us last year. Keep your fingers crossed!
So, Weekend One, I’m all sorts of jacked up and ready to start ripping everything out of the Cabin. Turns out I’m not super strong, or super in shape, who knew?! I ended up doing my best trying to keep up, but often had to ask for help getting my boards out and eventually just started helping clear the stuff the guys were removing (because they were moving so much faster than I was!). Regardless, I’ll keep trying and learning better techniques and gaining muscles throughout the process! Again, that instant gratification thing was awesome through Weekend One. Every time more logs became visible through the layers it was like a small victory. I loved every minute of it! And was thoroughly exhausted by the end.
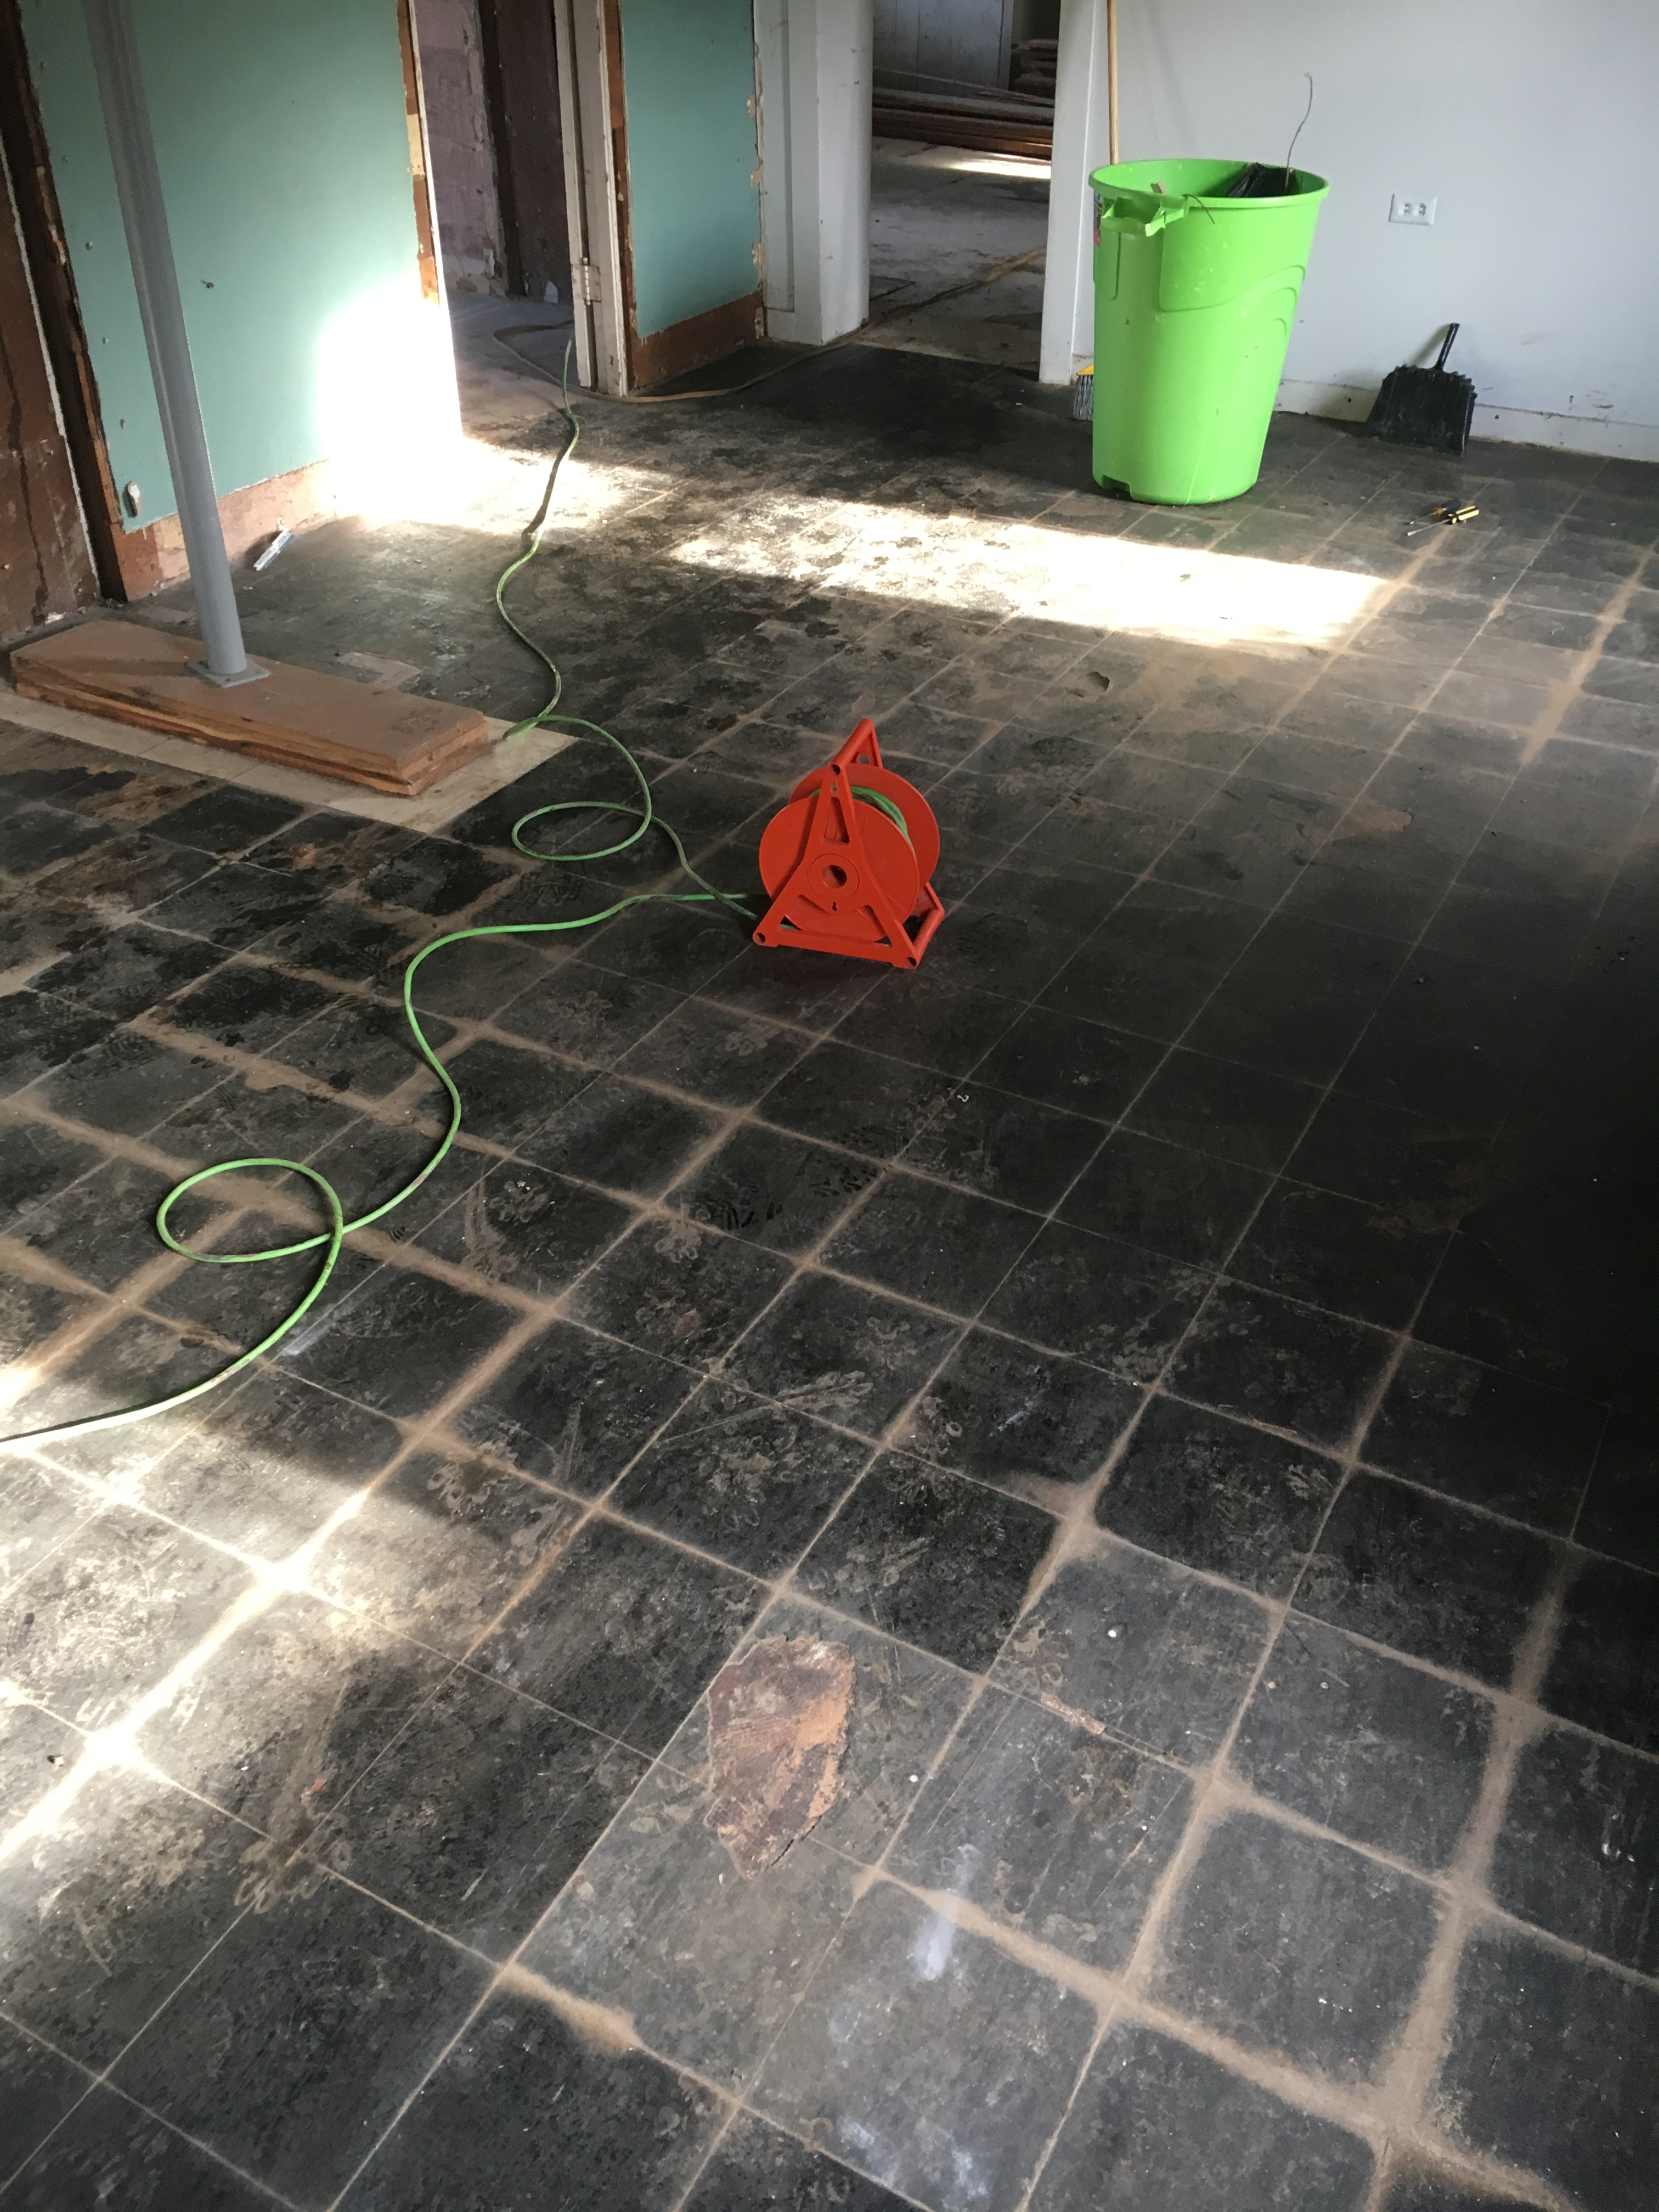
We started with the floors, and removed all the tile out of the main living space. That bit was pretty easy and went very quickly, but we’re going to have to go back and somehow get the tar paper off of the (awesome!) wood flooring (is that tar paper? I don’t even know what people use(d) to adhere tile to wood floors…it looks like tar paper to me!). Sanding? Chemicals? Good ol’ elbow grease? I don’t know, but I’m thinking it might be challenging.

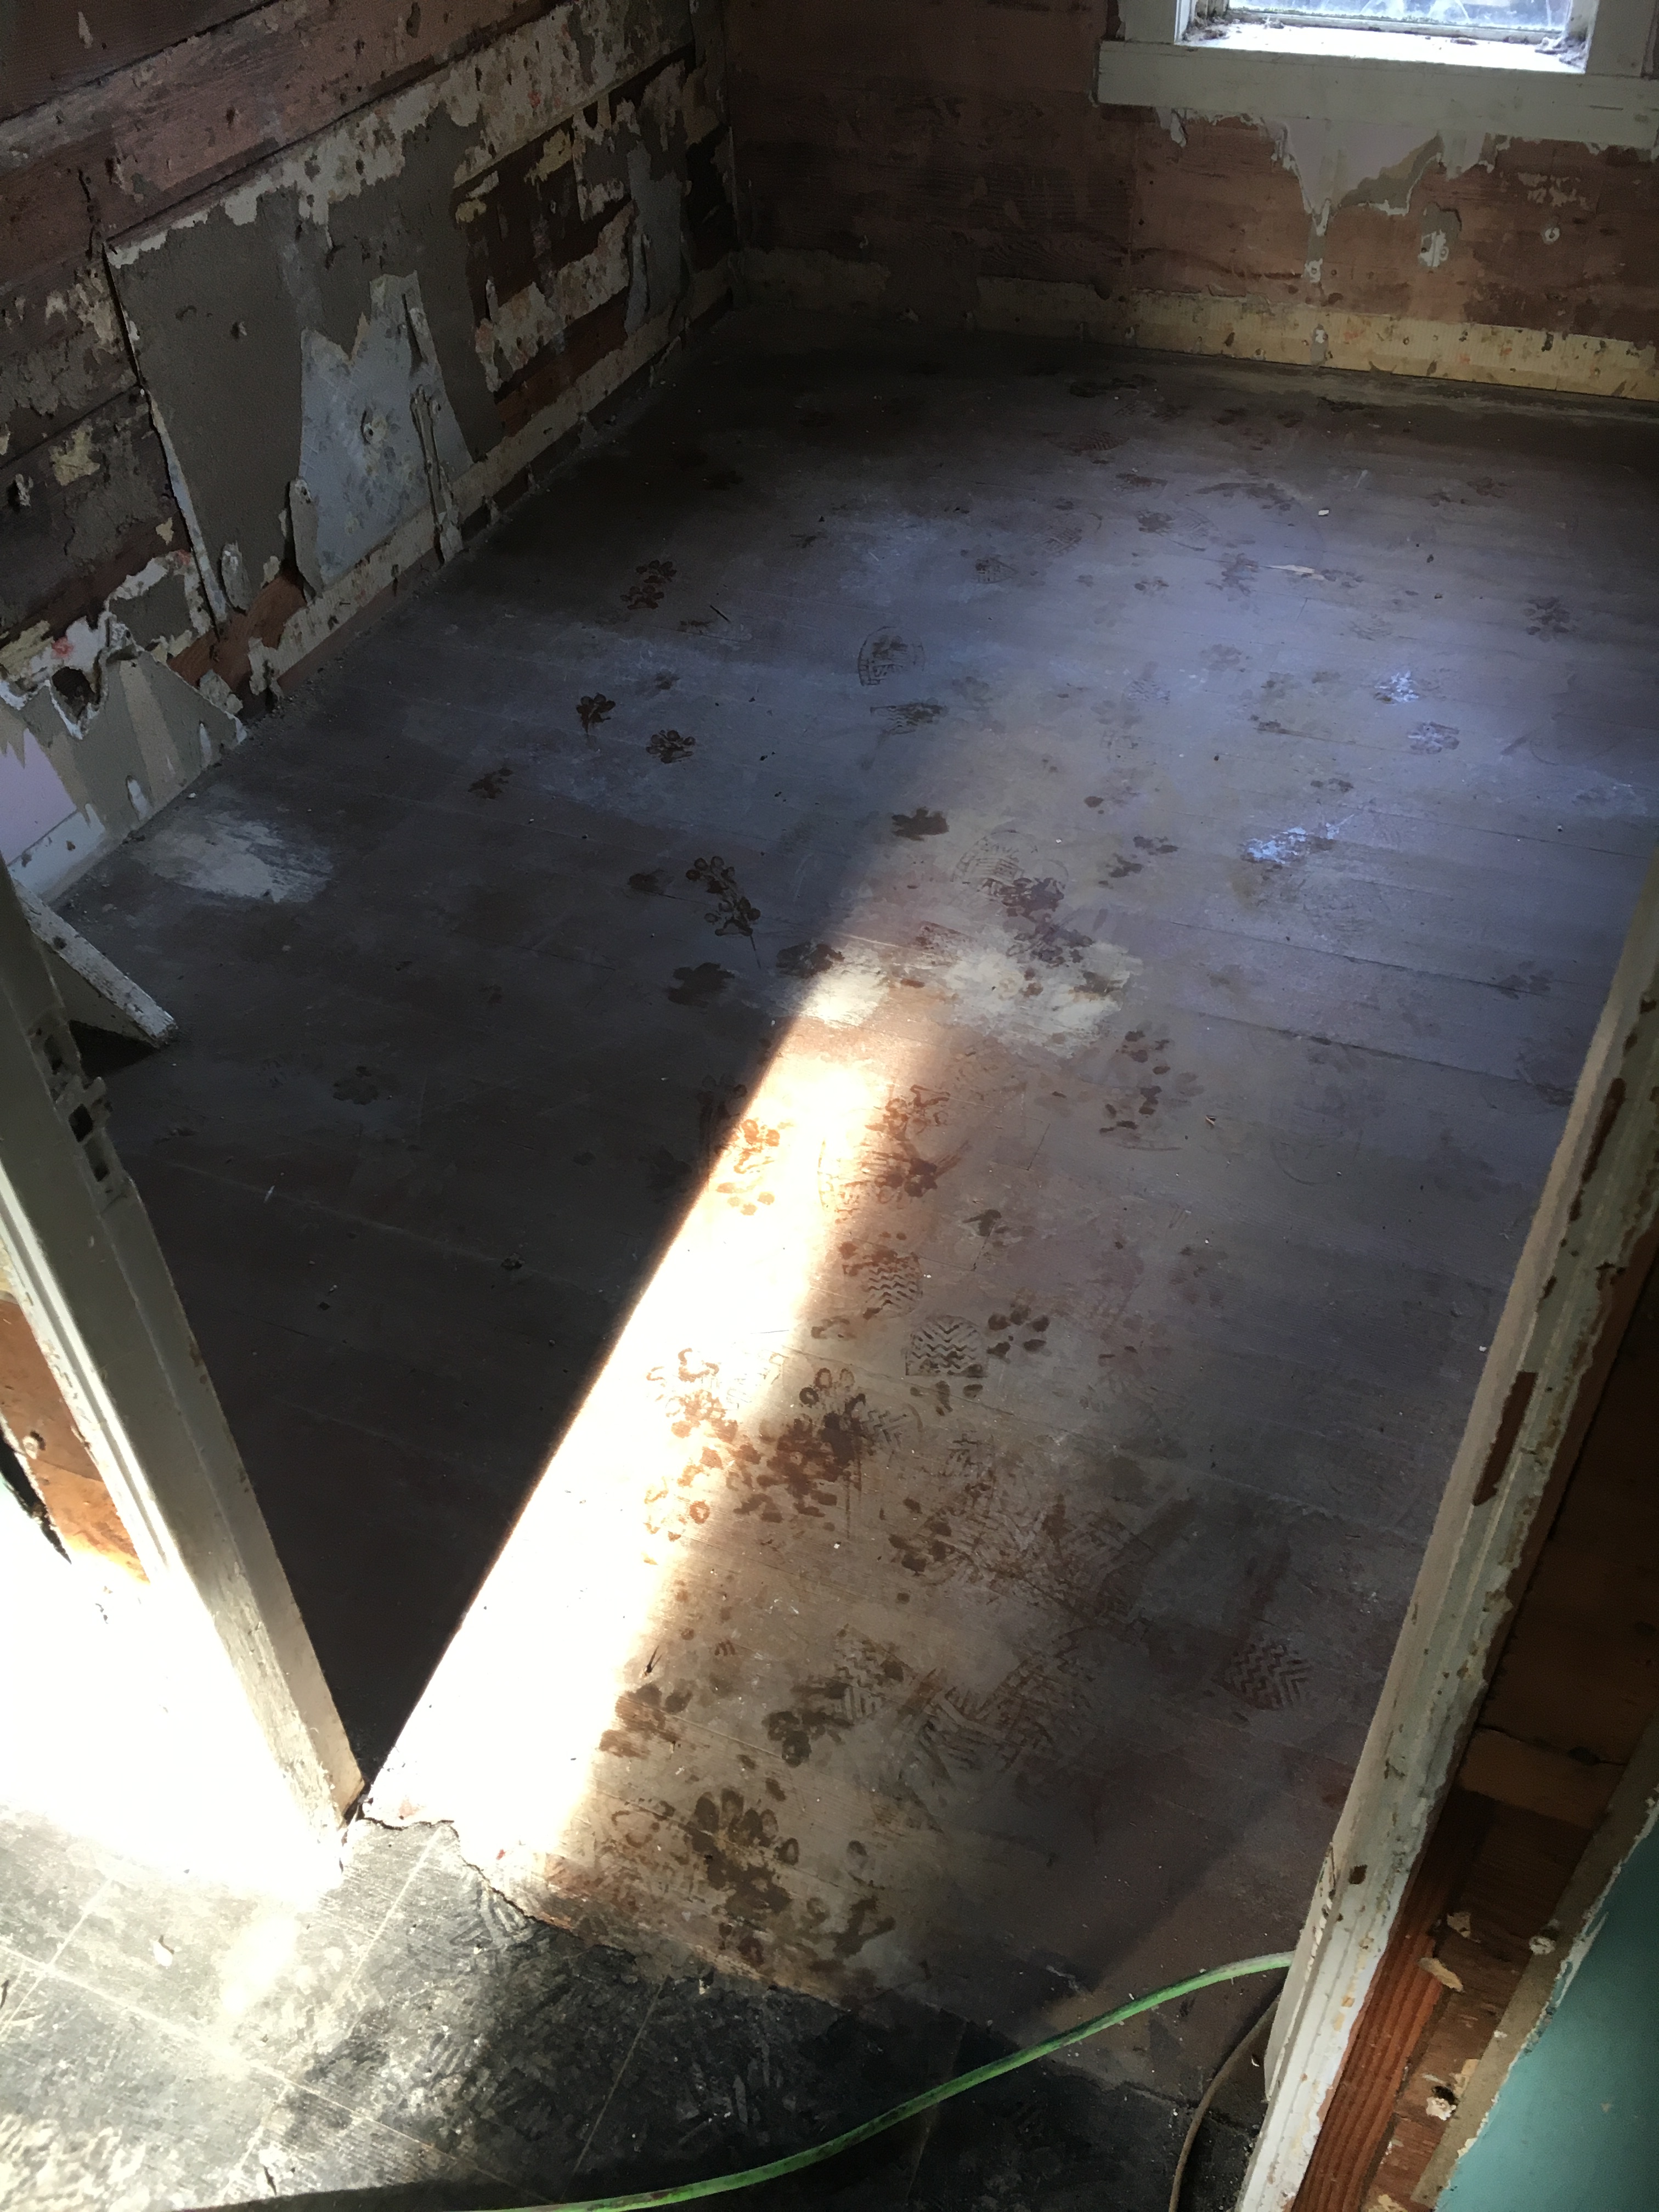
Then we moved into the old children’s room. I’m not going to lie, the first words out of my mouth the very first time we walked into that room was, “there’s no way this room isn’t haunted!” It was pretty eery in there, the pictures do not do it justice! But all that crazy blue carpet? E-A-S-Y. I don’t know if it was at some point connected to the flooring beneath it, but we literally just had to pull up the edges and roll it up. The hardest part was getting it to fit out of the narrow doorway! And much to my delight, that same beautiful wood flooring was underneath and mostly undamaged! I mean sure, it’s going to need to be sanded and re-stained, but that’ll be cheaper (not to mention homage to the Cabin’s history) than getting brand new wood floors in! This particular portion of the room will be our bathroom, so there will probably be tile here, but the other side will be part of the kitchen, and I want those gorgeous wood floors EVERYWHERE but the bathroom!
Next we moved into the weird little (as in TINY) room that comes off the main living space and has the door to the stairway. Our goal is to move the stairway to the West facing wall, remove the wall to the living space, and push the other wall back so we have an open floor plan with the (small) kitchen here. As you can see, more beautiful hardwood floors!! Oh my heart was so happy. There was a weird laminate on this floor that again, may have been attached at some point? But somehow just needed to be rolled up and removed! It was awesome! Also, check out all that shiplap! I am thinking I will have to integrate some of that into the final decorating schemes. I’m not sure how or where yet, but I want to accomplish a kind of old meets the new, modern-rustic feel.
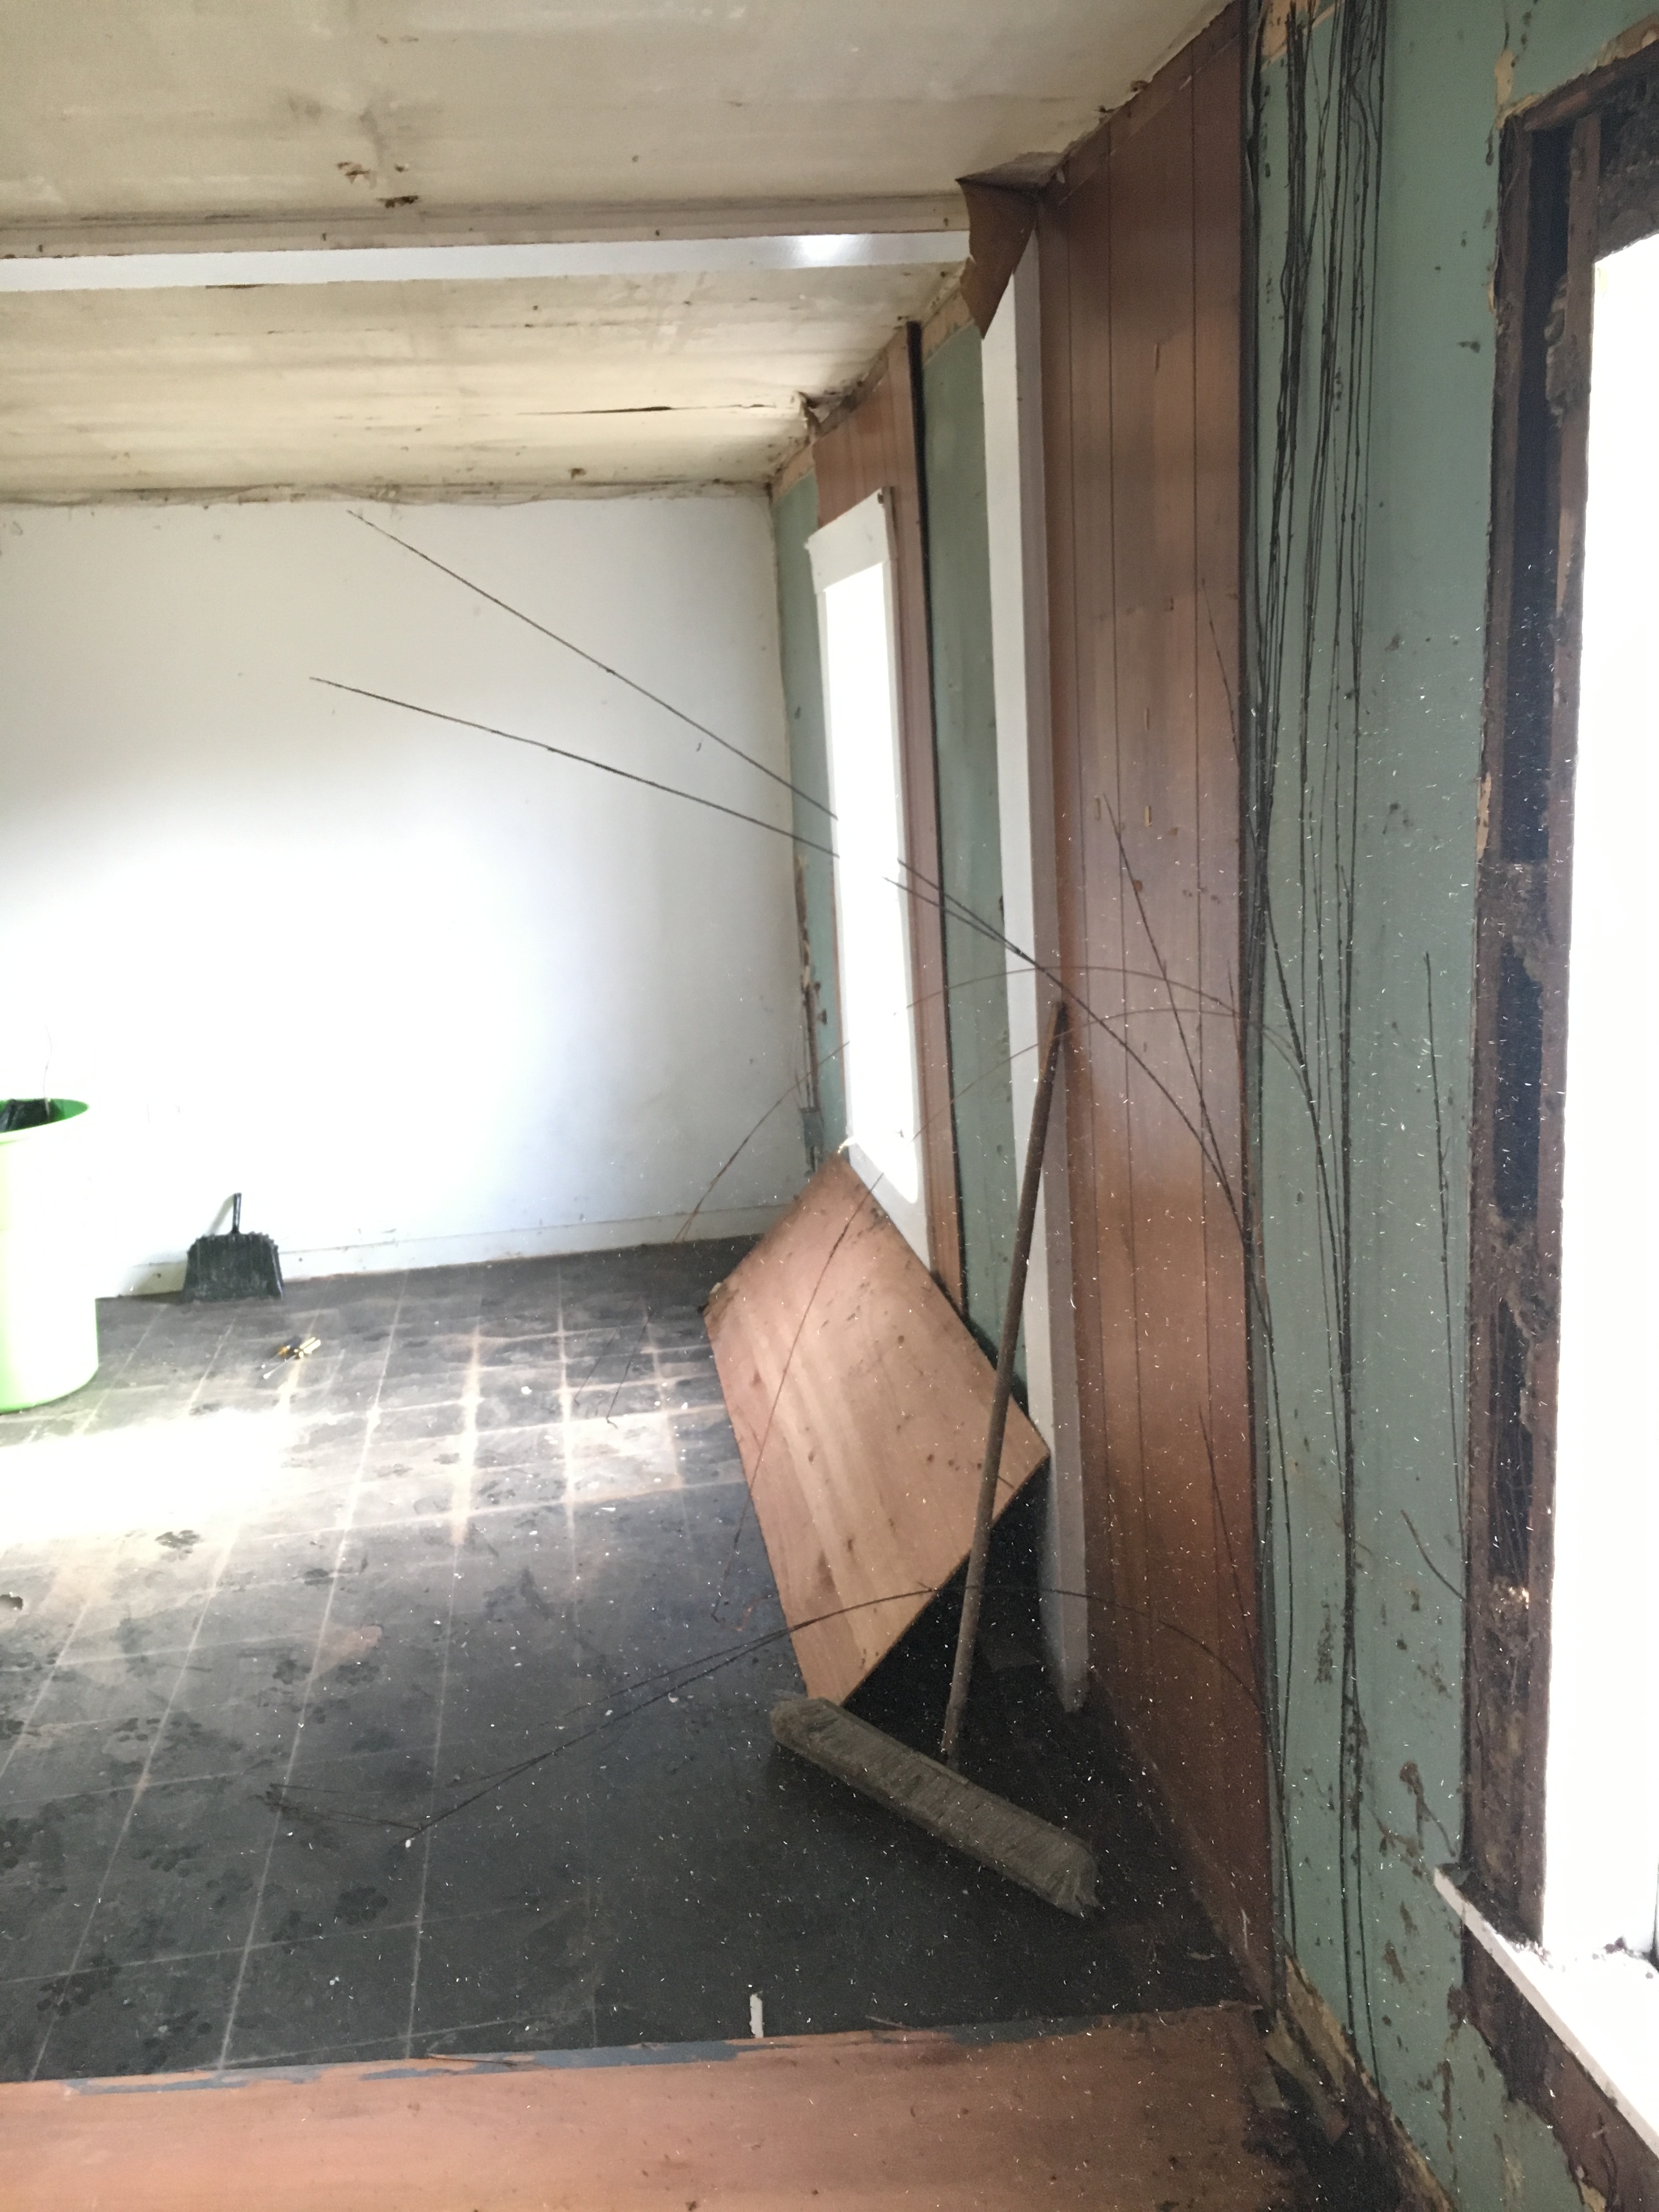
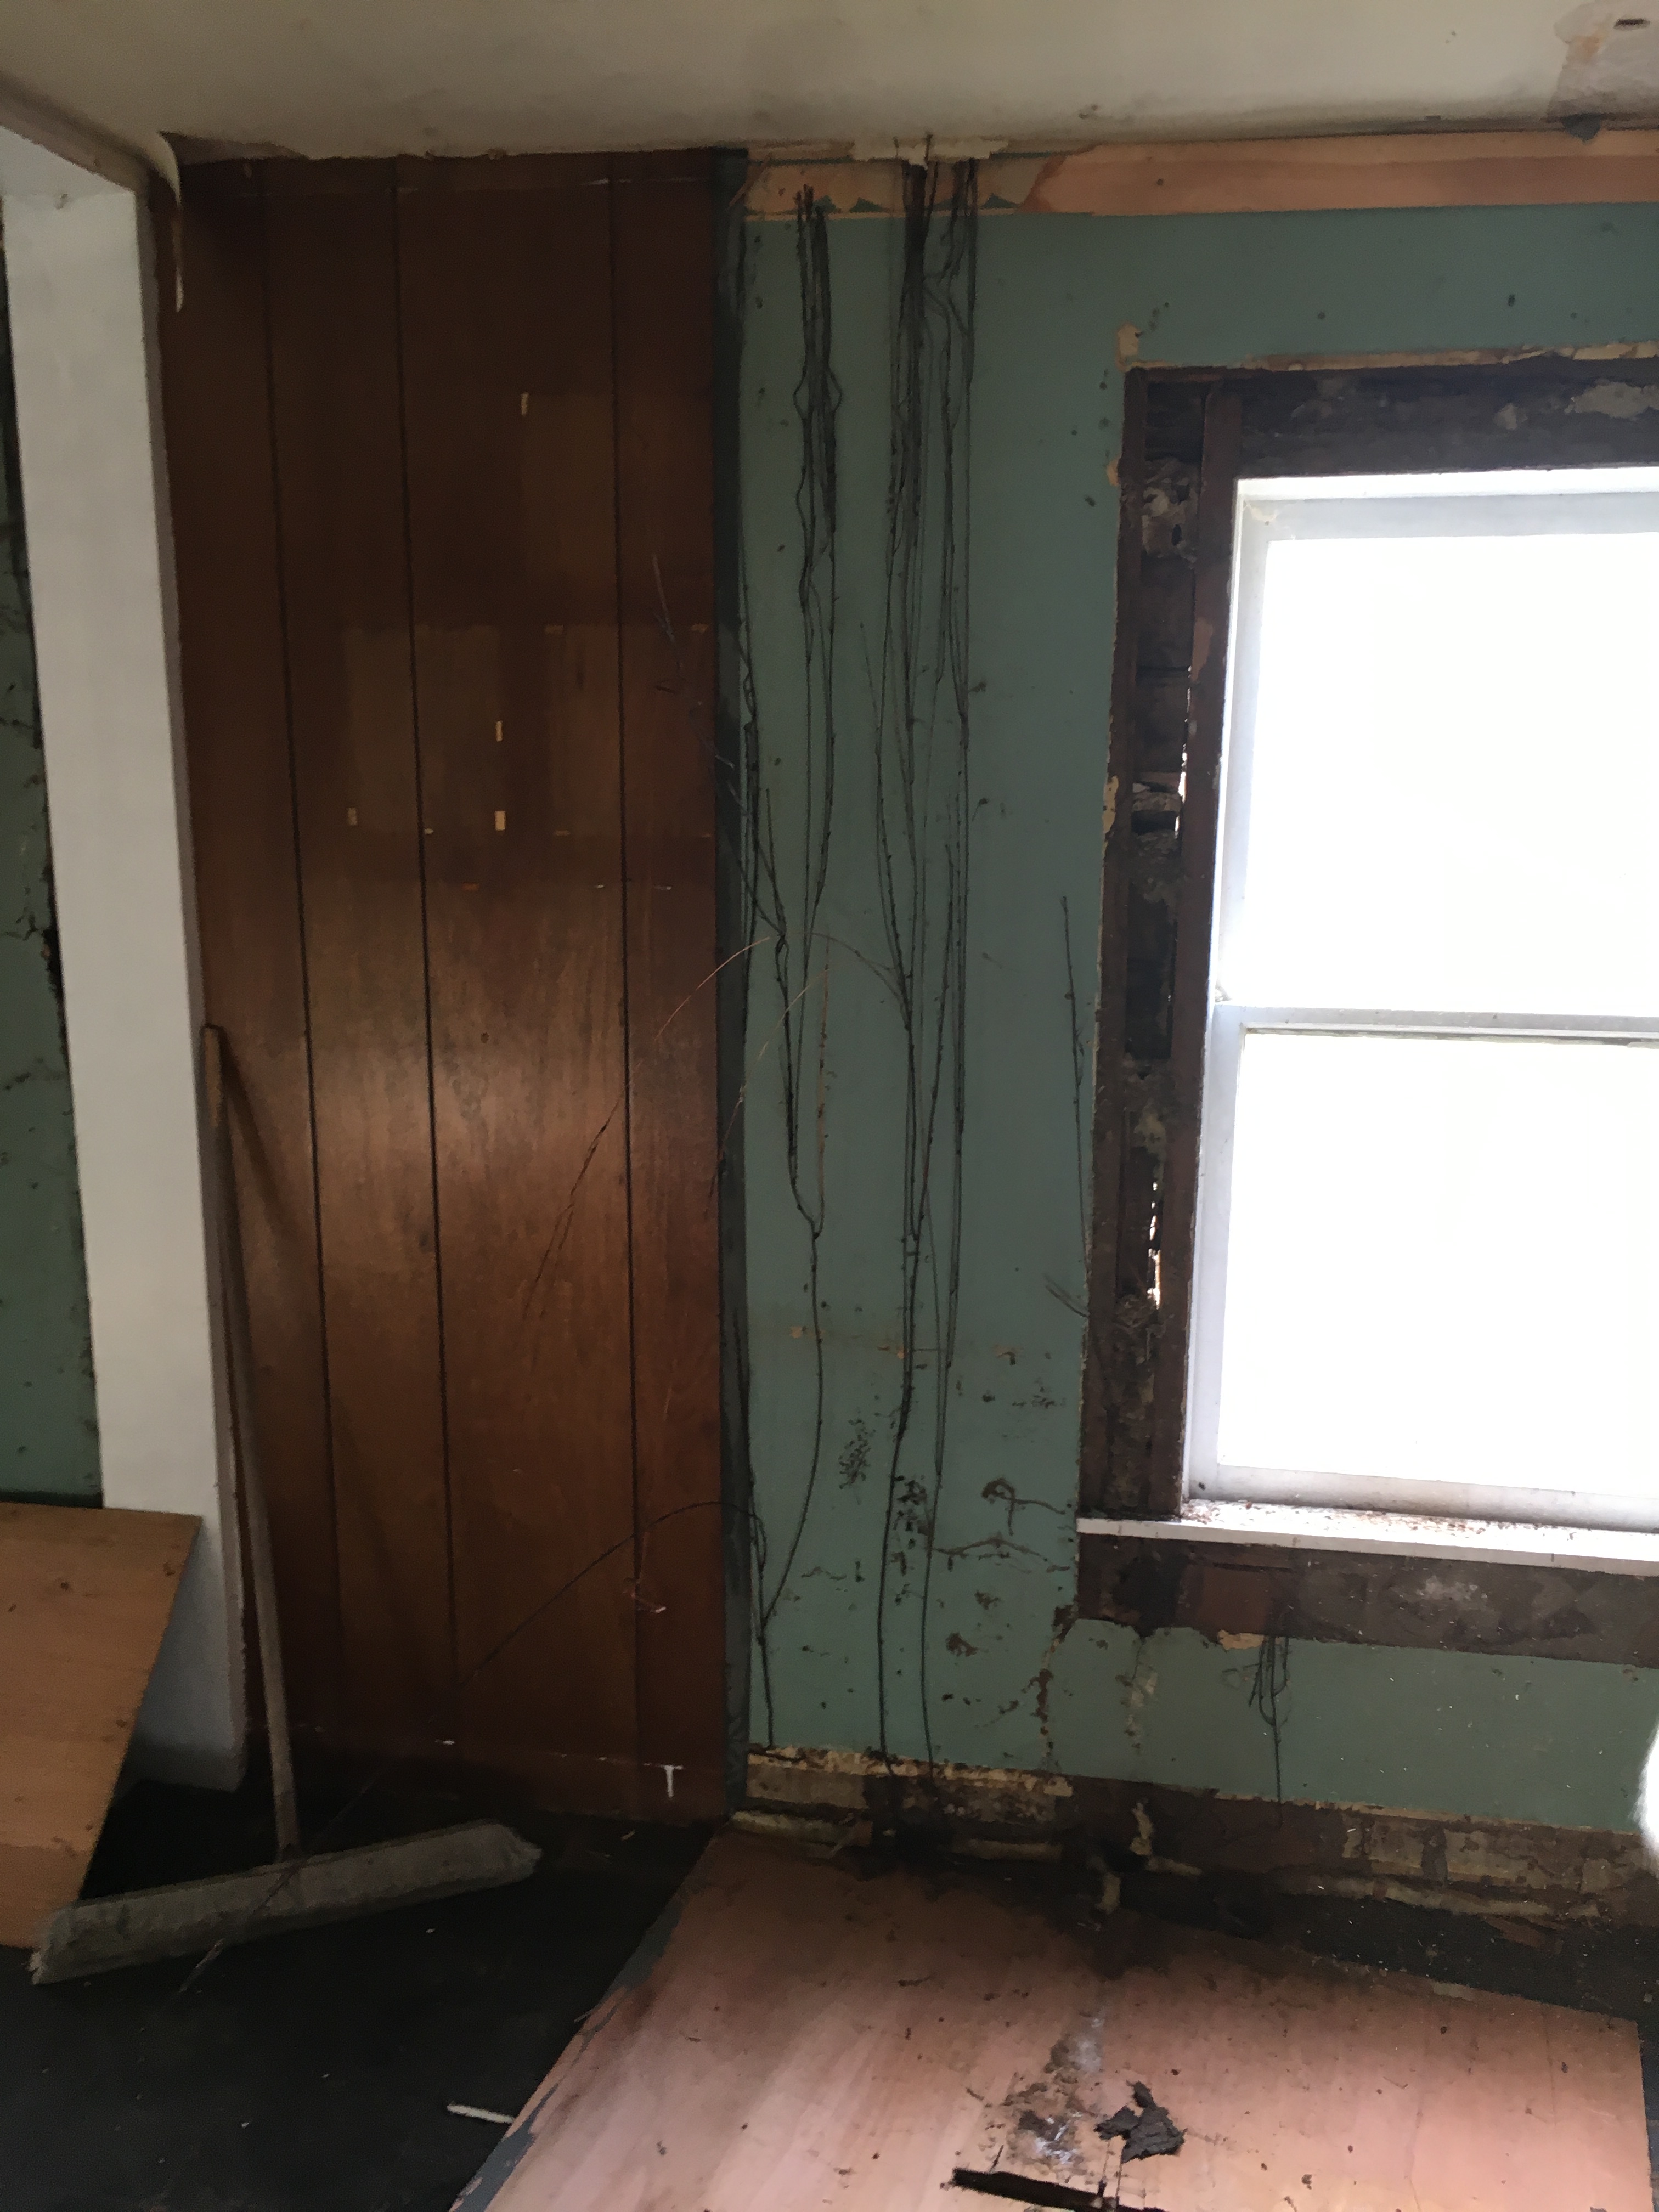
Once all the excess flooring was removed on the ground floor, we started on the walls that covered the logs. This was probably the most exciting for me, because I’ve been waiting to get to the bones of the Cabin! It was a little scary, because we found out the floor is basically floating from the logs of the Cabin, as in it doesn’t actually touch any of the logs and you can see down to the dirt under the Cabin on all sides. Because of this, there were weird vines growing up between the layers of the walls! So weird to see. There was 70’s wood paneling (Sayonara!!), followed by teal painted drywall, followed by 1″x12″ wood boards. That first section we did, every layer was exciting to peel back and see if we were at the log Cabin layer yet.
But throughout the process, we kept finding clusters of ladybugs! It is important to mention that while we were getting the Honey House (joint living space) all ready to go this Fall, there were THOUSANDS of ladybugs that would come in swarms around 1pm-2pm and just be hitting you as they flew by, landing on you, getting in your car, in the Honey House, just EVERYWHERE. So much so that my mother-in-law started referring to the homestead as “Ladybug”. So, the first cluster of ladybugs I found under a 1″x12″ board, I got all excited and wanted to get a picture! I pulled out my phone, put it up to the wall to get the ladybugs in frame – and it slipped right out of my fingers. OH. MY. GOD. It fell through the 2-3″ gap between the log wall and the floating floor and went under the Cabin. My jaw dropped, I started swearing, I couldn’t believe it! I had to go outside and move stuff out of the way and dig a little hole to reach my arm under the Cabin (TERRIFYING) and rescue my phone!! When I went back inside, the ladybugs were GONE. Kinda weird. So I continued removing boards, and the next cluster I found, I pulled out my phone *very carefully* and pulled up the camera and go to take the picture and *boom* PHONE DIES. My mind is like, “these ladybugs have supernatural powers.” There’s no other explanation! Well, I got those ladybugs recorded, don’t you worry. On the third try, after charging my phone for a bit, I was successful!! Look at these crazy little ladies!

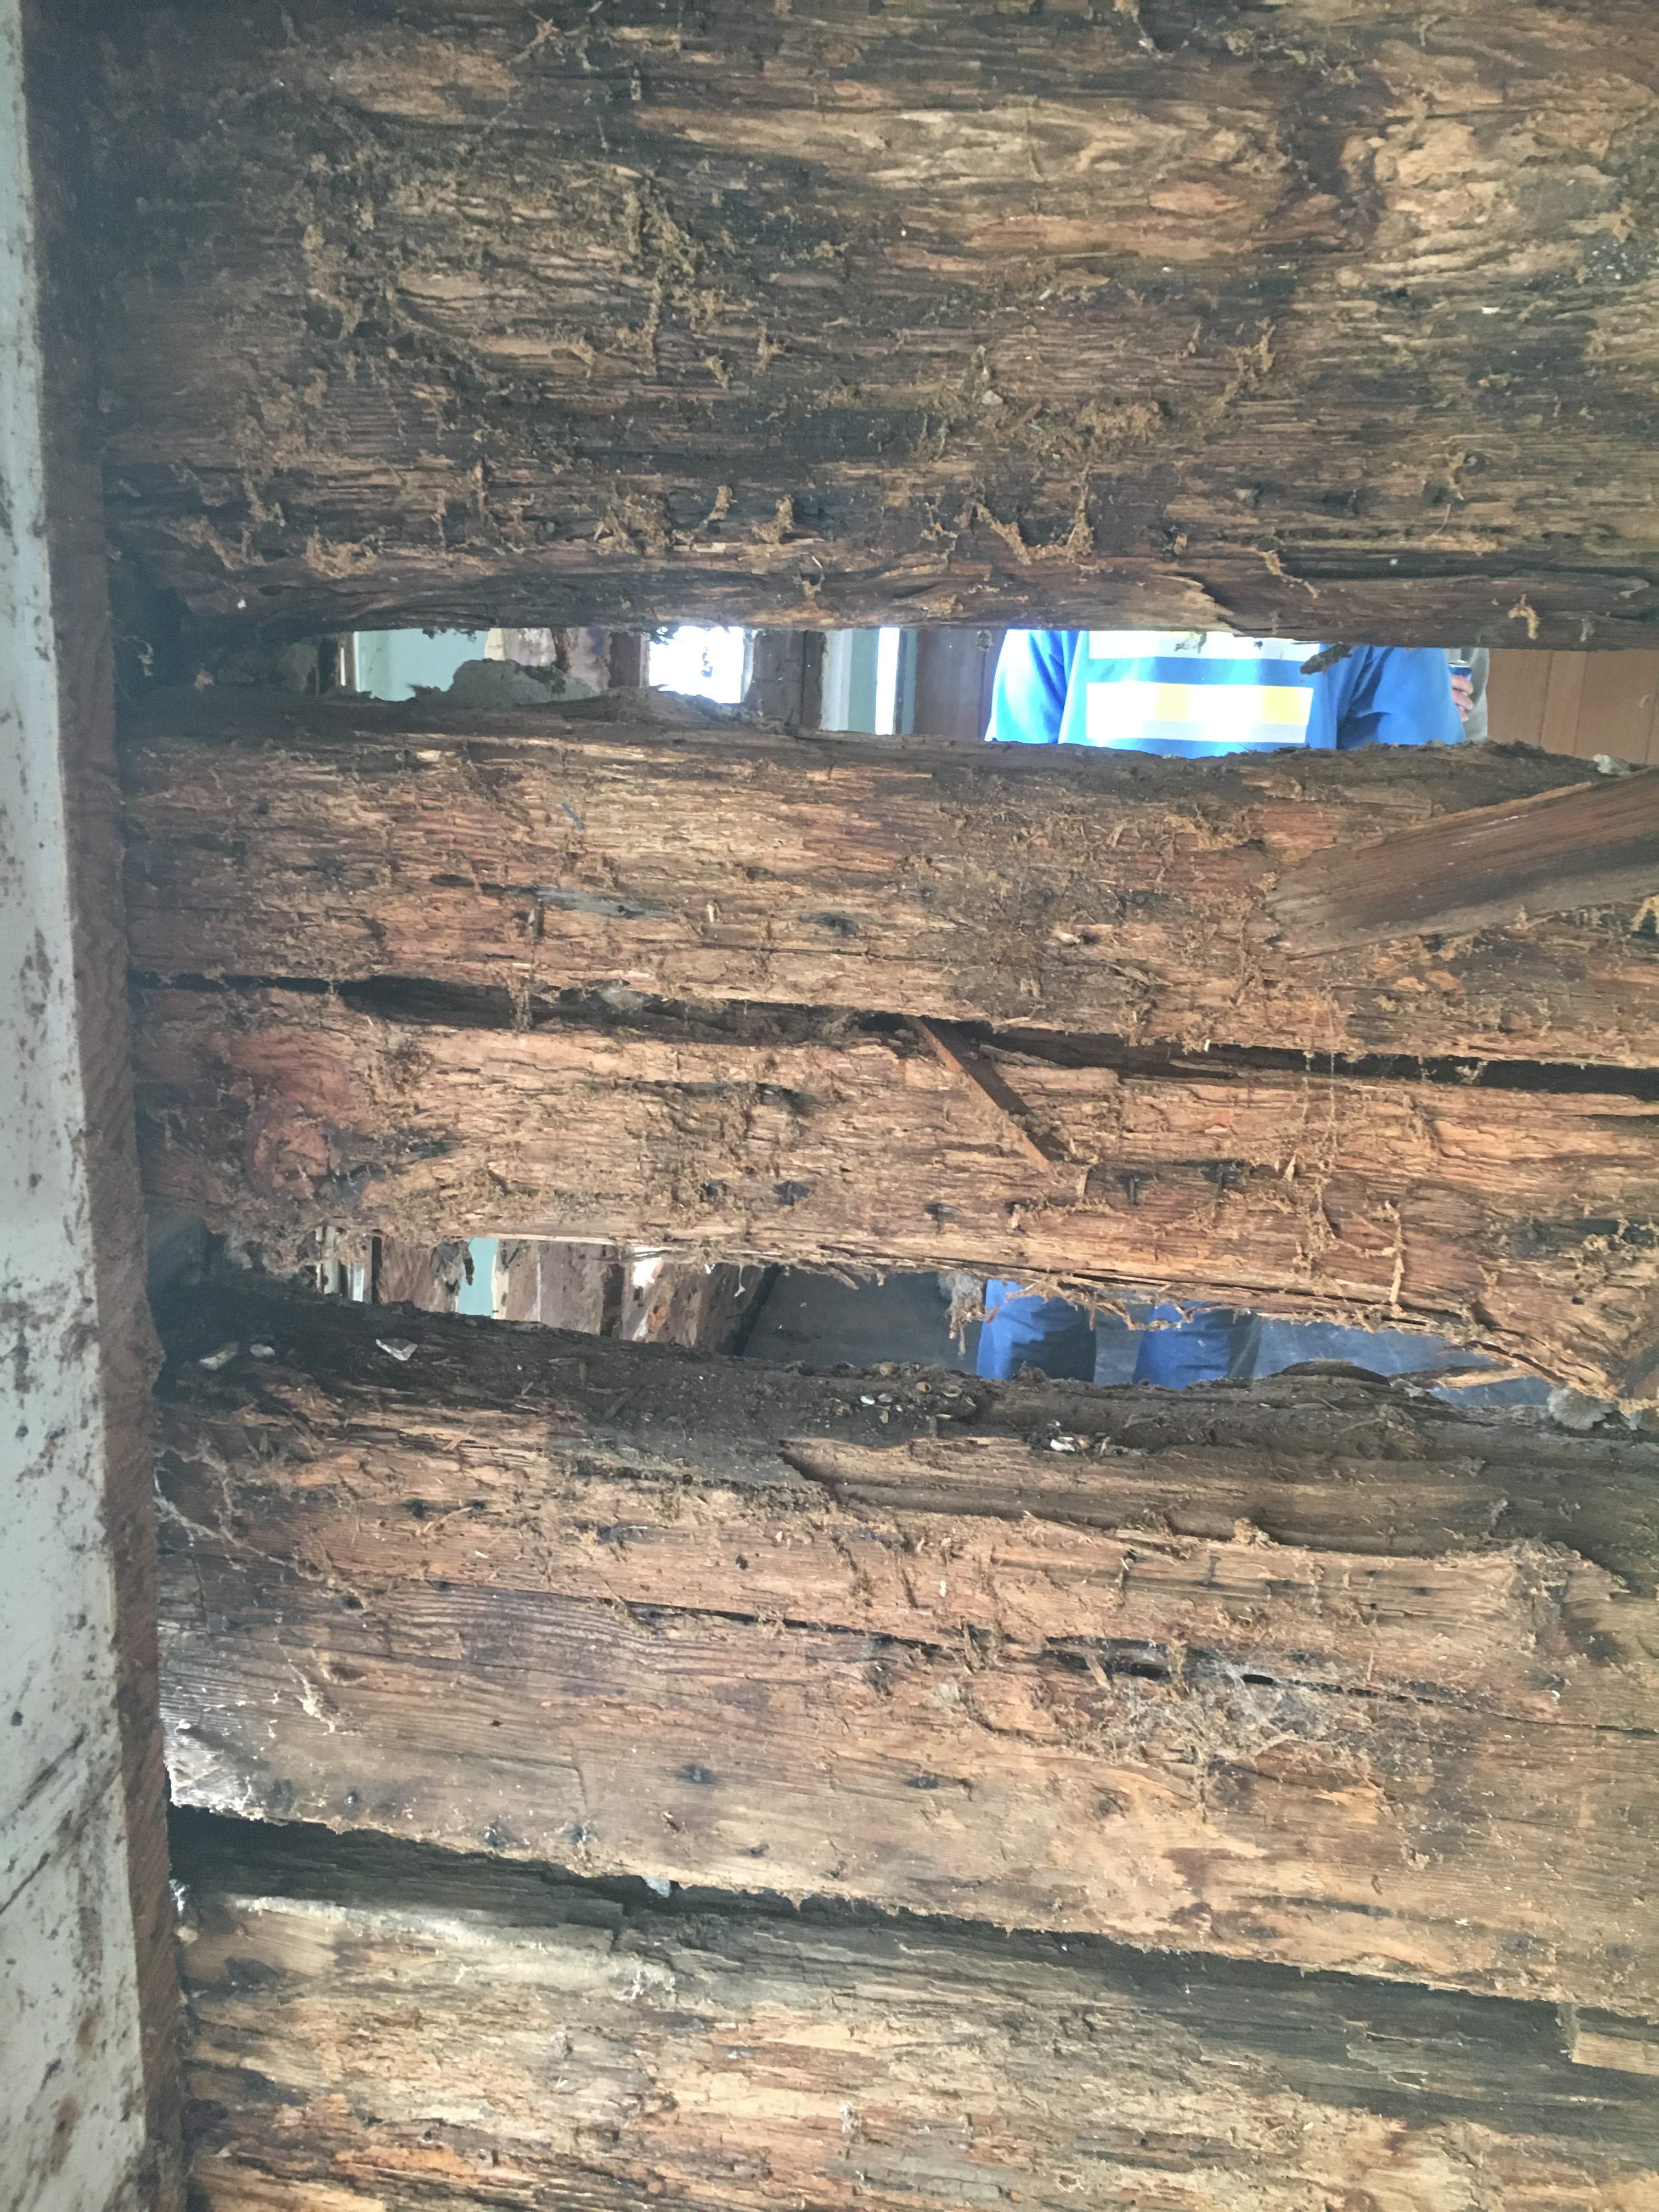
Anyways, coming back from that tangent, getting down to the logs of the log Cabin was super rewarding, even if it was scary seeing some of the damage we’re going to have to work through. The majority of the logs look really good, though there are quite a few on the on the East wall, in the corner connected to the addition (which has a lot of water damage), that are pretty extensively damaged. We’ll have to cross that bridge when we get to it. I am hoping to have only two of the log walls bare, and have the other two be sheet-rocked, or shiplapped, or something. While I love the log cabin look, and I want it to be a central focus, I don’t want it to be everywhere. I want balance, and I want to be able to have some lighter walls to brighten up the small space. So the current plan is to keep the South and West facing walls bare, and as the South facing wall is the living space with a vaulted ceiling, it’ll be the focal point.

We got all the floors down to the original hardwood flooring and got down to the logs on nearly two walls for Weekend One. Weekend Two will consist of more tear down, as will later weekends I’m sure!
